How to Change the Watermark on One Photo in a Batch
Move, resize or swap the watermark on the photo where it covers something, and leave the rest of the batch alone.
- No account needed to start
- Up to 5,000 files per batch

In short
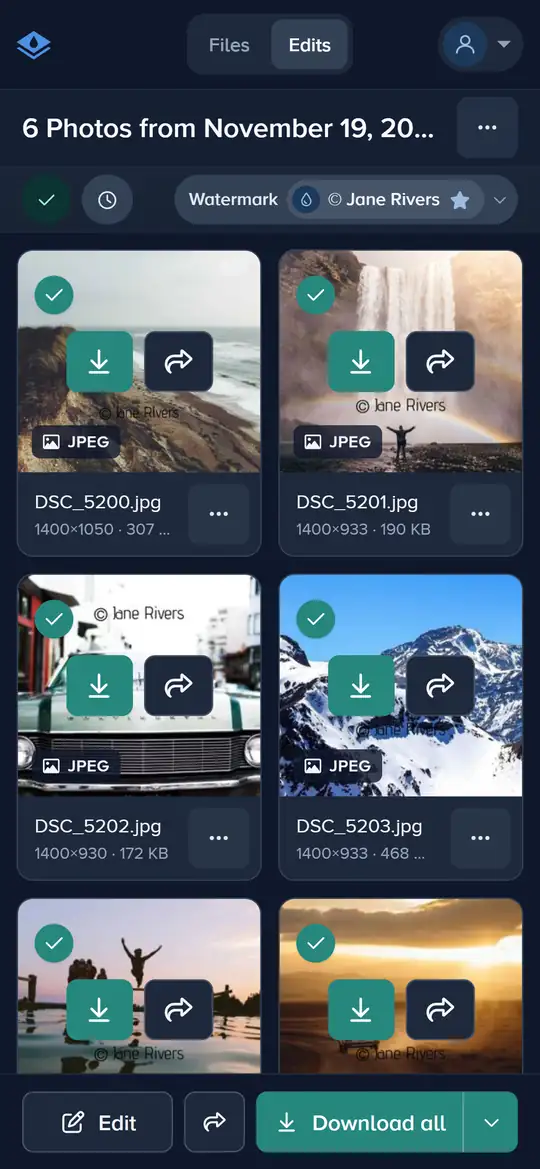
Click the photo in the files strip at the top of the editor and change its watermark there: only that photo takes the change, and it gets a blue number. When you click Apply, the photos you changed keep their own watermark, whichever files you choose to apply to.
How to Change One Photo’s Watermark in 4 Steps
The batch keeps its design; one photo gets its own.
-
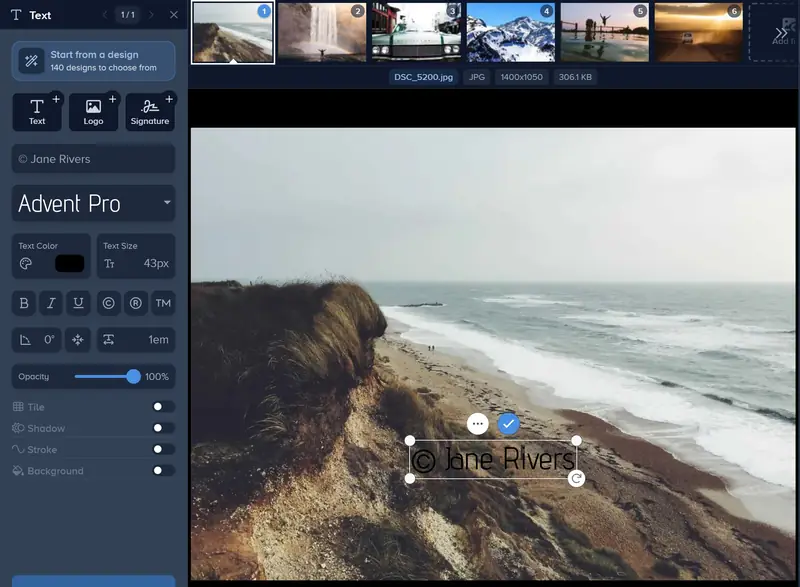
Step 1: Design the Watermark for the Batch
Open the Watermark tab on the first photo and set the watermark up the way most photos should have it.
-
Step 2: Open the Photo That Needs a Change
Click it in the files strip, or step to it with the arrows. The watermark comes along, and the photo gets a blue number to show it now has its own.

-
Step 3: Change Its Watermark
Drag the watermark clear of a face or a label, resize it, or edit its text. The change stays on this photo.

-
Step 4: Go Back to the First Photo and Apply
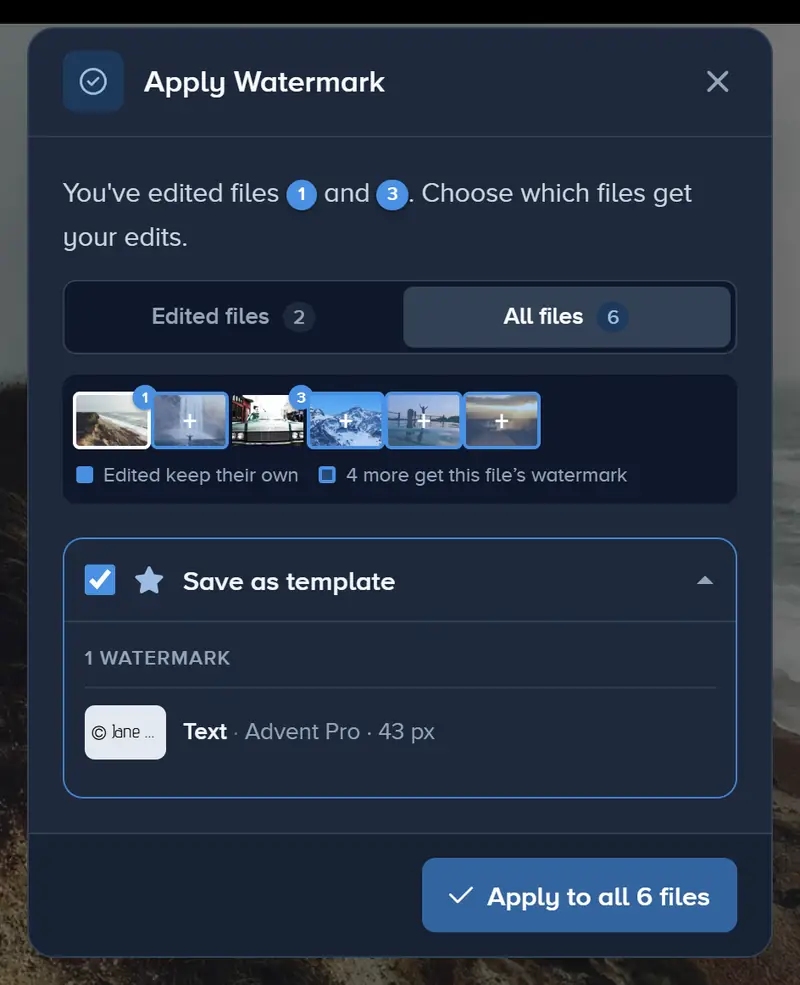
Click the first photo again, then Apply, and pick All files. The photos with a blue number keep their own watermark, and the rest get the first photo’s.
If It Doesn’t Look Right
You Already Applied It to All Files
Click Undo. The Watermark tool opens again with your design, so you can change the one photo and apply again.
The Other Photos Took the Changed Watermark
Apply copies the watermark of the photo on screen to the photos you didn’t open. Click Undo, return to the first photo, and apply from there.
More Photos Have Blue Numbers Than You Changed
Every photo you open while the Watermark tool is open takes the watermark as it was then. A later change on the first photo doesn’t reach them, so look through the batch before you open the tool.
Only That Photo Should Get a Watermark
Open the Watermark tool on that photo alone and add the watermark. Click Apply, pick This file, and click Apply to this file: the other photos stay as they are.
Give Each Photo the Watermark It Needs
One design for the batch, and its own spot for the photo that needs it.
Add your photos- No account needed to start
- Works in your browser
Questions people ask
Will the other photos change when I edit one?
Can every photo in a batch have its own watermark?
How do I see which photos I’ve changed?
Does this work with crops and other edits too?
Keep reading
 Guide
Add a Logo Watermark to Your Photos
Upload your logo, set its size, opacity and position, and put it on one photo or a whole shoot. PNG, SVG or JPG logos up to 50 MB and 8,000 px. Free to try.
Guide
How to Add a Logo to a Video
Upload your logo, set its size and opacity, place it on the video’s frame and download the video with your logo on it. PNG, SVG or JPG logos up to 50 MB.
Guide
How to Add a Text Watermark to Photos
Type your name, website or © line, pick a font, then set its size, color, opacity and place. Apply it to one photo or a whole batch and download them.
Guide
How to Batch Watermark Multiple PDFs at Once
Watermark many PDFs in one edit: place the watermark once, apply it to all files, and download them together. Up to 5,000 files per edit on Premium.
Guide
How to Change the Color of a Logo Watermark
Recolor your logo watermark with Tint: type your brand’s hex code, pick a shade that suits the photo, or switch Tint off to get the original colors back.