How to Cover a Photo With a Protection Pattern
Lay lines, a grid or waves across the whole photo, so no clean corner is left to crop or retouch.
- No account needed to start
- Up to 5,000 files per batch
In short
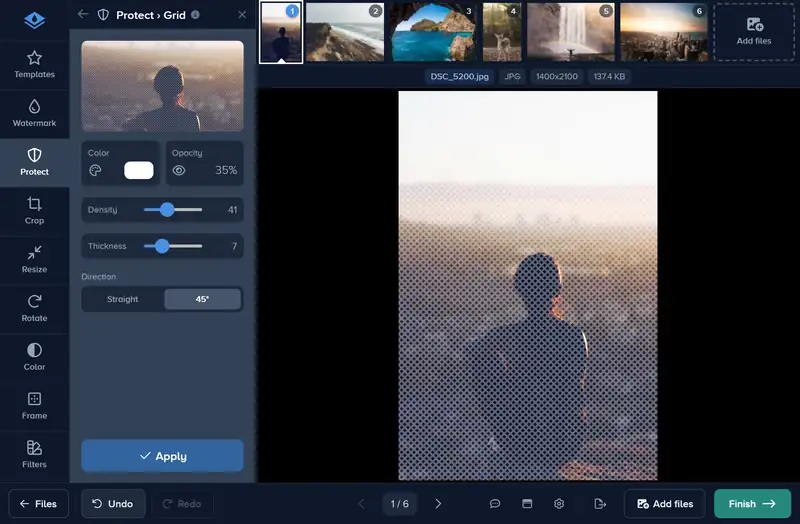
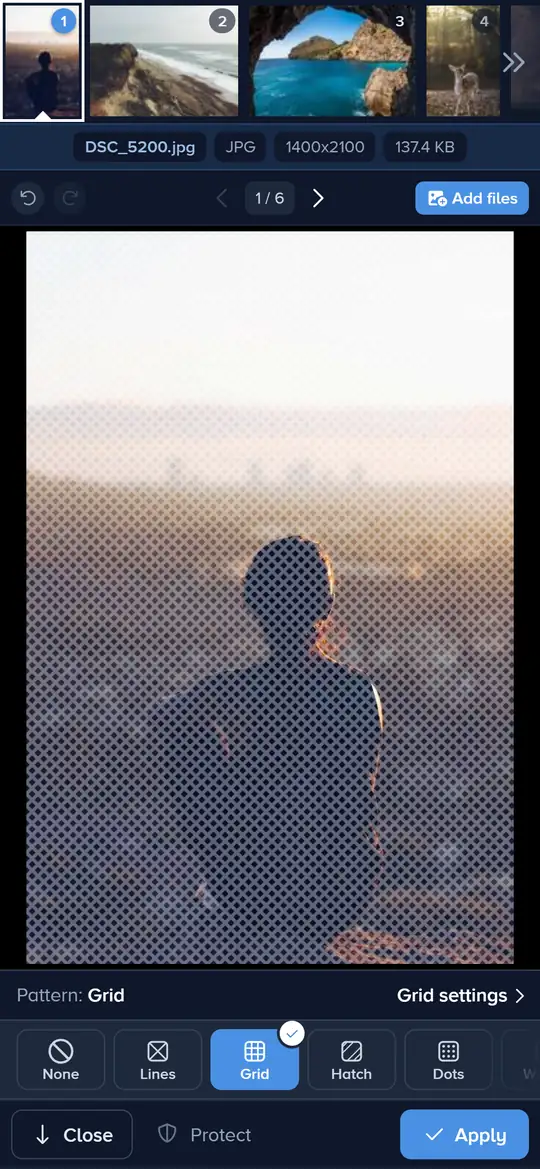
Open the Protect tool and pick a pattern: it covers the whole photo, alongside your watermark or on its own. Set its color, opacity and density, then apply it to your files. Lines, Grid, Hatch and Waves are free on every plan; the other 8 of the 12 patterns are free to try and need Premium or Ultimate to download.
How to Add a Protection Pattern in 4 Steps
One tool, a few sliders, and every photo in the edit is covered.
-
Step 1: Add Your Photos
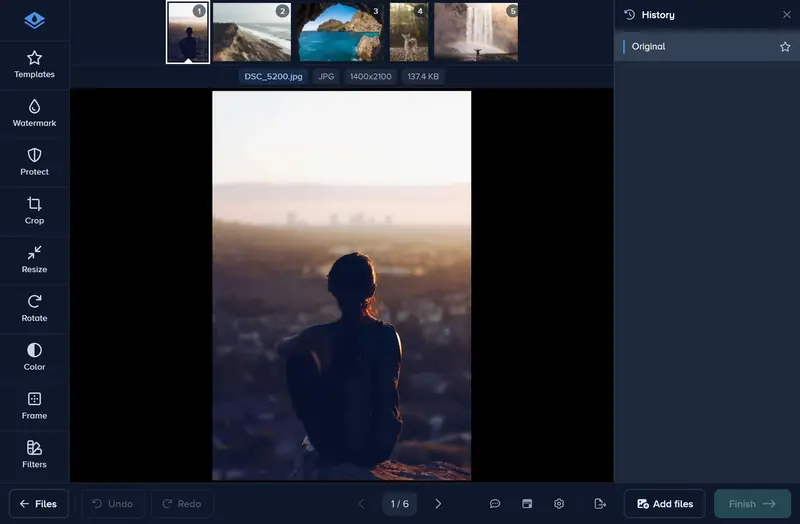
Click Choose files and add the photos you are sending or posting. Protect works on photos; videos and documents do not take it.
-
Step 2: Open Protect and Pick a Pattern
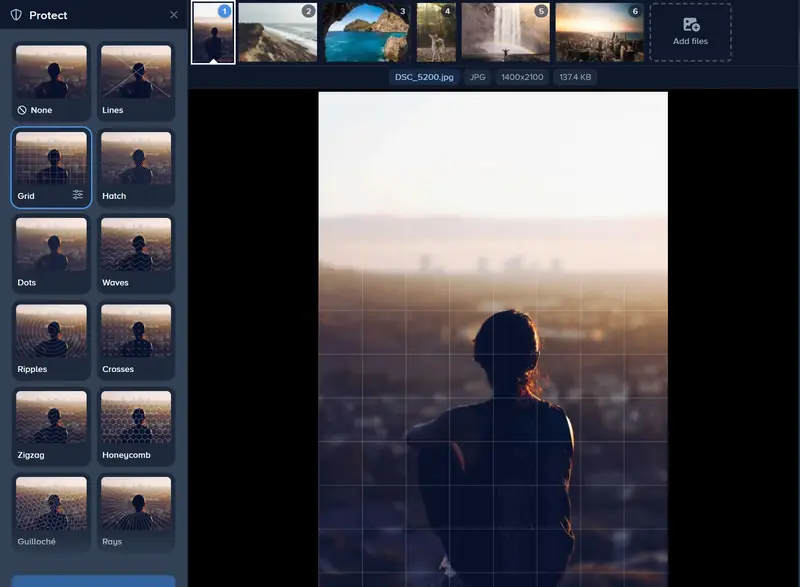
Click Protect in the tools. Each card shows a pattern on your own photo; click one to put it on. One pattern goes on at a time, and None takes it off.
-
Step 3: Adjust the Pattern
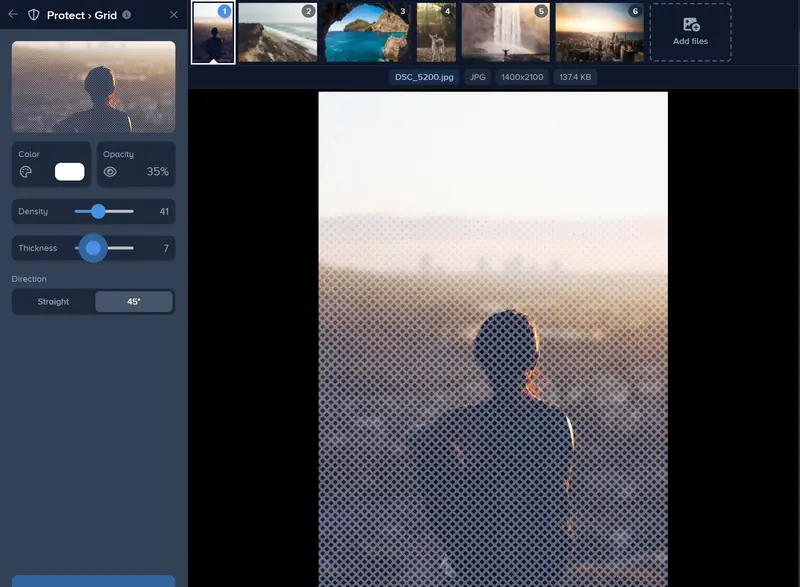
Click the sliders on the pattern’s card for Color, Opacity and, on most patterns, Density and Thickness. Grid also has a Direction: Straight or 45°. On a phone, tap the pattern a second time.
-
Step 4: Apply It to Your Files
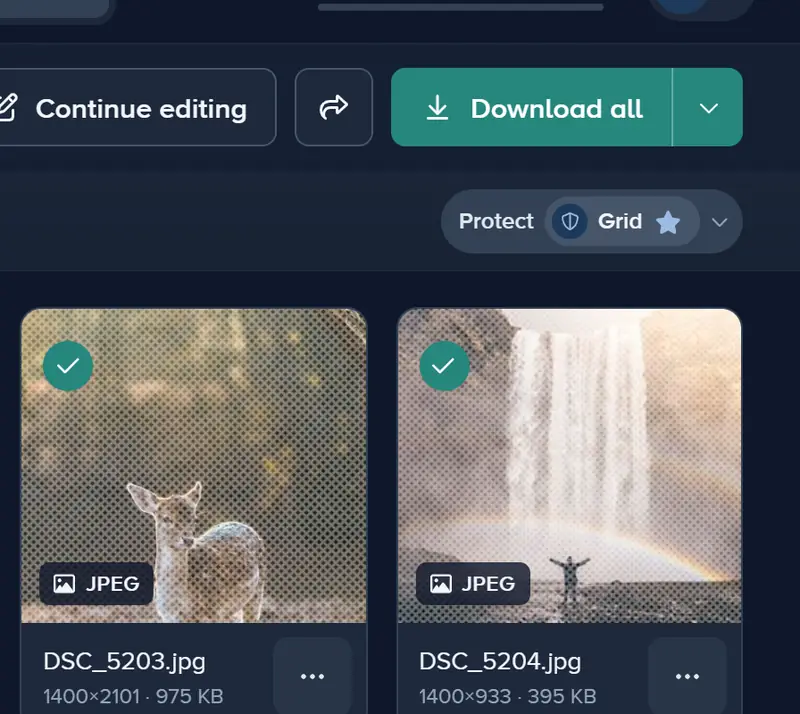
Click Apply and choose All files to cover every photo the same way. Add your watermark too, then click Finish to download.
If It Doesn’t Look Right
The Pattern Hides the Photo
Lower Opacity until the picture reads through, and lower Density for fewer, wider-spaced lines. The viewer should still see the photo, just not a clean copy of it.
It Vanishes on a Bright Sky
Patterns start white. On a light photo, change Color to a mid or dark gray, or raise Opacity and Thickness until the lines show.
A Pattern Has a Crown
It is a premium pattern. You can put it on and see it on every photo on any plan; downloading files with it needs Premium or Ultimate.
You Want Two Layers
Protect holds one pattern at a time, and picking another replaces it. For a second layer, add a tiled watermark in the Watermark tool on top of the pattern.
Cover Your Photos Before You Share Them
Pick a pattern, set how strong it is, and apply it to every photo in the edit.
Protect your photos- No account needed to start
- Works in your browser
Questions people ask
Which patterns are there?
Will the pattern match on large and small photos?
Can someone paint the pattern out?
Does it replace a watermark?
Keep reading
 Guide
Add a Logo Watermark to Your Photos
Upload your logo, set its size, opacity and position, and put it on one photo or a whole shoot. PNG, SVG or JPG logos up to 50 MB and 8,000 px. Free to try.
Guide
How to Add a Text Watermark to Photos
Type your name, website or © line, pick a font, then set its size, color, opacity and place. Apply it to one photo or a whole batch and download them.
 Guide
How to Batch Watermark Photos Online
Batch watermark up to 5,000 photos in one batch: design the watermark once, apply it to all, fix single photos and download a zip. Free to try, no install.
 Guide
Create a Signature Logo for Your Photos
Type your name, pick one of 30 handwriting fonts and swap letters for alternates. Free to design and preview; download it from the editor with Premium.
Guide
How to Download a Watermark as a Transparent PNG
Type your name in the watermark maker, pick a design and download it as a transparent PNG 1,000, 2,000 or 4,000 px wide, or as an SVG. Every file is free.
Guide
How to Remove the White Background From a Logo
Upload your logo, switch on Remove Background, and the white box around it disappears. Tune the edge with Fuzz and Blur, then apply it to every photo.