
On this page
- Proofs Need a Different Watermark
- Three Proof Styles That Work
- What to Put in a Proof Watermark
- Opacity: Visible Enough to Deter, Light Enough to Judge
- Keep Faces Clear, Cover Everything Else
- Send Proofs Small
- Why Download-Blocking Is Not Enough
- A Proofing Workflow That Scales
- Common Proofing Mistakes
- Delivering the Finals
Proofs Need a Different Watermark
The watermark you put on your portfolio is designed to give you credit without getting in the way. A small name in the corner does that well. On a proof it fails completely: the client — or anyone they forward the gallery to — can crop it off in seconds and print, post or frame the photo you have not been paid for yet.


A proof watermark works the other way round. It sits inside the photo, where no crop can remove it, and it clearly says what the image is: a preview. The trick is doing that while still letting your client see what they need to choose — faces, expressions, composition.
Three Proof Styles That Work



Adding the word PROOF matters more than it seems. A photo with only your name on it can pass as a watermarked portfolio image that someone was “allowed” to share. A photo that says PROOF is obviously unfinished, which discourages clients from posting it and makes it easy to explain why the final version looks different.
Text and logo watermarks in Watermark.ws have a Diagonal Lines option that draws two lines from corner to corner, with its own color and opacity. Combined with a centered PROOF mark, it gives you the style in the middle in one step.
What to Put in a Proof Watermark
Keep the mark short. Two lines are plenty, and every word has a job:
- The word PROOF. It tells everyone — the client, their family, anyone the gallery is forwarded to — that this is not the finished photo.
- Your studio name or website. If a proof escapes onto social media anyway, it still leads back to you.
- White with a soft shadow. It reads on both light and dark parts of a photo. Switch to a dark gray only for very bright, high-key images.
- One sturdy font. Proofs are viewed small, so a medium or bold sans-serif survives far better than a thin script. See the best fonts for watermarks for how different fonts hold up.
Leave out anything that changes from client to client, such as their name or the session date. The goal is one proof watermark you can reuse on every session without editing it.
Opacity: Visible Enough to Deter, Light Enough to Judge
Here is the same proof mark at four opacities. The mark sits over the family’s legs and shoes, away from their faces.




For most proofs, 30–50% is the sweet spot. Below that the mark is easy to overlook and easy to paint out; above it, the watermark starts to become what the client looks at instead of the photo. Use the higher end for high-value work, such as weddings and commercial shoots, and for clients you do not know yet.
Keep Faces Clear, Cover Everything Else
Clients choose photos by faces: whose eyes are open, who is smiling, which expression they love. A proof mark across the face hides exactly what they need to judge, and it is the first thing they will complain about.


Put the mark just below the faces instead — across shoulders, hands, clothing or the bouquet. It still sits in the middle of the frame, so a crop cannot remove it without cutting the photo in half, and the client can see every expression. If you use a tiled pattern, keep it small and faint enough that faces stay readable through it.
In Watermark.ws you set the position once for the whole batch, then open any photo where the mark lands on a face and nudge it. The rest of the batch keeps the original position.
Send Proofs Small
A watermark is only half of proof protection. The other half is size. Your client needs to see the photo clearly on a screen; they do not need a file big enough to print. A proof that is 1,500 or 2,000 pixels on its long edge looks sharp on a laptop or phone, but falls apart as a large print.
Prints are usually made at around 300 pixels per inch, so the long edge in pixels divided by 300 gives the largest print that will look sharp:
| Long edge | Sharp print up to | Good for |
|---|---|---|
| 1,200 px | about 4 inches | Quick previews on a phone. |
| 2,000 px | about 6.5 inches | Proof galleries viewed on a laptop. |
| 3,000 px | about 10 inches | Too big for proofs — this is small-print territory. |
| 6,000 px | about 20 inches | Full-resolution finals only. |
Watermark.ws has a Resize tool that sets the width and height in pixels or as a percentage of the original, and it can run on the whole batch together with your watermark — so shrinking and marking proofs is a single pass, not two.
Why Download-Blocking Is Not Enough
Many online proofing galleries let you disable downloads or right-clicking. Turn those on — but do not rely on them. Anything shown on a screen can be screenshotted, and a full-screen screenshot on a modern phone is easily good enough to post online.
A watermark is different because it is part of the pixels. It survives screenshots, reposts and forwarding, and it goes wherever the image goes. The strongest setup uses all three layers together: gallery protections to stop casual saving, a reduced file size so proofs cannot be printed, and a proof watermark so any copy that escapes is clearly unfinished and clearly yours.
A Proofing Workflow That Scales
Doing this by hand for a 400-photo wedding is where proofing becomes a chore. This is the workflow that keeps it to a few minutes:
-
1
Upload the whole session
Add every photo you want the client to choose from. Keep each client in their own folder so proofs and finals never get mixed up.
-
2
Add the proof watermark
A text watermark with PROOF and your studio name, at 30–50% opacity, positioned below where faces usually fall. Turn on Diagonal Lines if you want the extra protection.
-
3
Resize for screens
Add a Resize step to around 2,000 pixels on the long edge.
-
4
Apply it to every photo
When you apply an effect, Watermark.ws asks whether it should go on just this photo or on all photos in the batch. Choose all.
-
5
Fix the exceptions
Scroll through and move the mark on any photo where it lands on a face.
-
6
Save it as a template
Save the batch settings as a template called something like “Client proofs”, so the next session takes one click.
-
7
Download and send
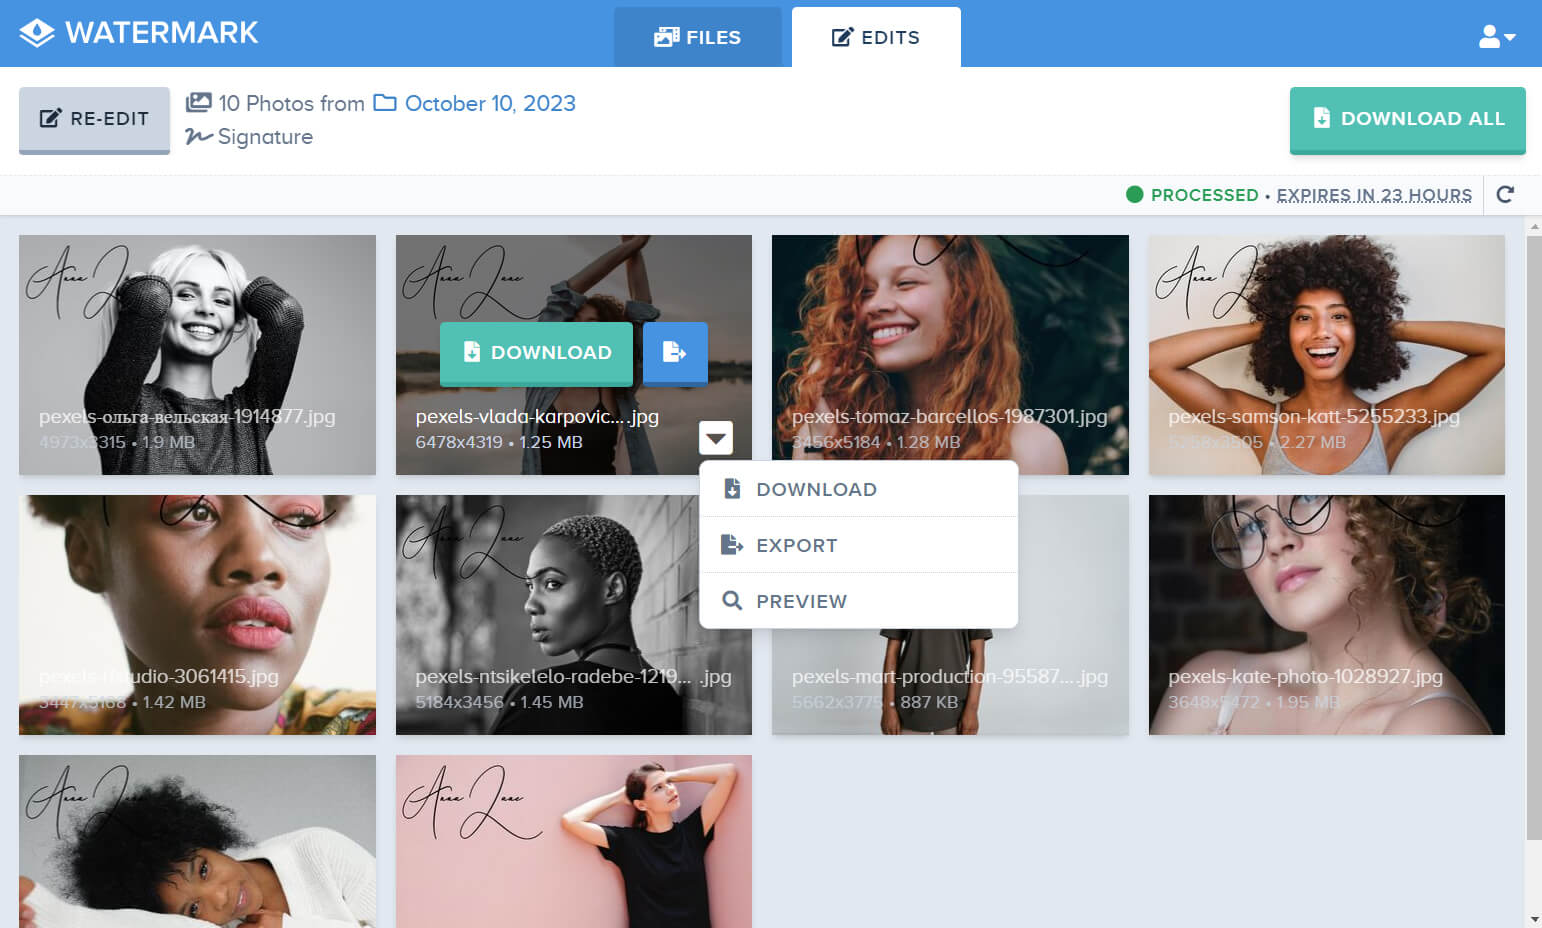
Download all the proofs at once and share them with your client however you normally deliver galleries.
Common Proofing Mistakes
| Mistake | Why it is a problem | Do this instead |
|---|---|---|
| Only a corner watermark | One crop removes it and leaves a clean photo. | Put the mark inside the frame, below the faces. |
| A mark across faces | Clients cannot judge expressions, and they will tell you. | Move it to shoulders, hands or clothing. |
| Full-resolution proofs | The file is good enough to print large. | Send proofs around 2,000 px on the long edge. |
| Opacity under 20% | Easy to miss and easy to retouch. | Use 30–50%. |
| A different mark every session | Looks inconsistent and takes longer every time. | Save one proof template and reuse it. |
| Watermarking the finals | Paid work should arrive clean. | Deliver finals without a watermark. |
Delivering the Finals
Once the client has chosen, the finals are the clean, full-resolution files they paid for. Do not put a proof watermark — or any large watermark — on paid work. It looks like you are still holding something back, and it is the fastest way to turn a happy client into an unhappy one.


Because Watermark.ws works on copies, your original files are never changed. Upload the selected originals as a new batch, apply your finals settings — or none at all — and download. If you want credit when clients share the photos online, ask them to tag you rather than stamping the images they paid for.
A watermark discourages misuse; your contract is what actually covers it. Spell out that proofs are for selection only and may not be printed, posted or shared.
Sample photos: Mother and child by London Scout, Canoe by Roberto Nickson, Portrait with flowers by Alexander Shustov, Sunset by the lake by Julia Caesar on Unsplash.