
On this page
How Reverse Image Search Works
A normal search starts with words. A reverse image search starts with a picture. You give the search engine a photo, and it tells you where that photo — or something that looks like it — appears on the web.
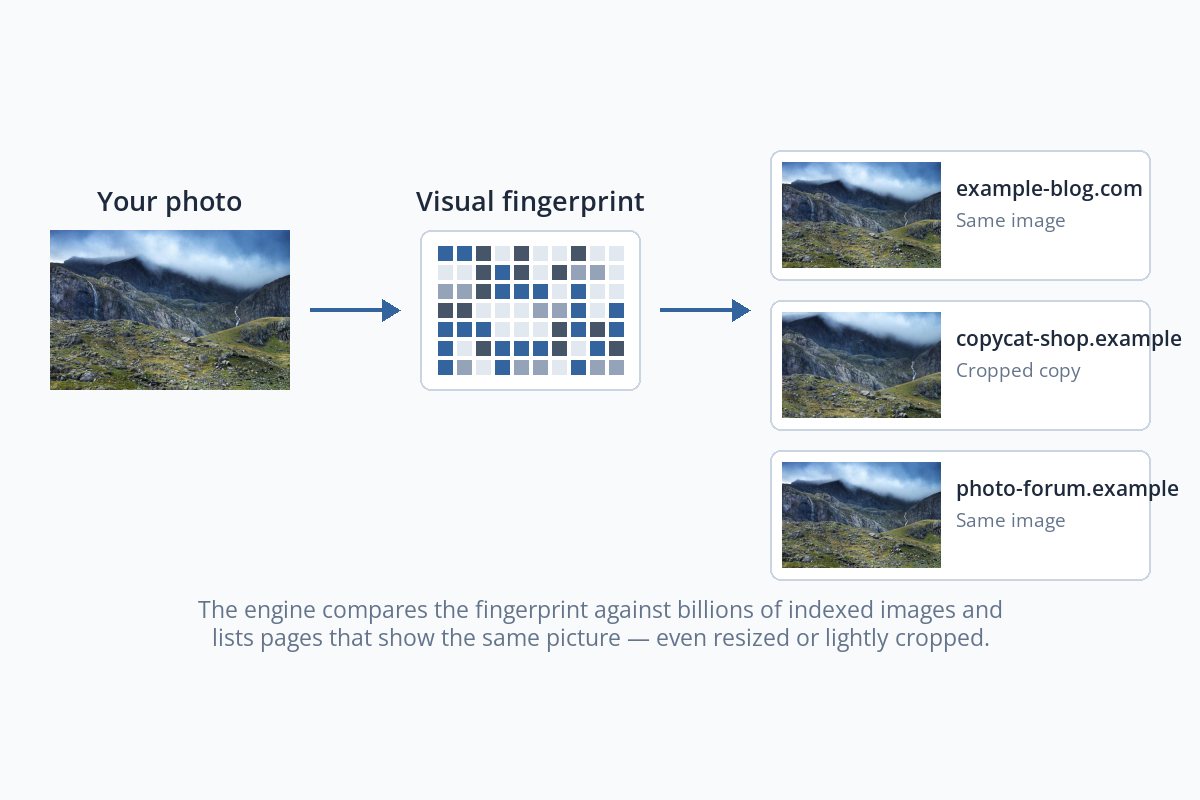
Under the hood, the engine does not compare pixels one by one. It turns your photo into a compact description of its shapes, colors and details, then looks for images in its index with a similar description. That is why a resized or lightly cropped copy can still be found — and why a copy the engine has never crawled cannot.
The Three Free Tools Worth Using
Each engine has its own index, so each finds copies the others miss. Running all three on your most important photos is the single best habit you can build. At the time of writing:
| Tool | How to start a search | Best at |
|---|---|---|
| Google Lens | In desktop Chrome, right-click an image and choose Search with Google Lens, or use the camera icon on Google Images to upload a file. | Breadth. Its visual matches and "find image source" results cover a huge part of the web. |
| Bing Visual Search | Click the camera icon in or near the Bing search box, then upload an image or paste a link. | A separate index. Its "pages with this image" results often surface sites Google does not show. |
| TinEye | Upload an image or paste its URL on TinEye's site. The web search is free and needs no account. | Exact copies. It can sort results by date, size and how much a copy has changed, which helps you find the earliest use. |
Features and menus change often, so if a button has moved, look for a camera icon or an option to search by image.
Searching From Your Phone
You do not need a computer. Google Lens is built into the Google app on Android and iPhone, and on many Android phones into the camera and photo gallery too. Open a photo from your camera roll in Lens, and you get the same kind of visual matches as on desktop.
Phones are handy for a quick check when you spot something suspicious while scrolling, but for a proper search session a computer is easier: you can open results side by side, upload your full-resolution originals and keep a log as you go.
A screenshot of your photo includes bits of the app around it and is usually lower quality. Search the original file from your camera roll or computer whenever you can.
A Search Routine That Actually Finds Copies
-
1
Pick the photos worth checking
You cannot search everything. Start with your most popular, most shared and most valuable photos — the ones people are most likely to take.
-
2
Search with your best version
Upload the full, unwatermarked original where you can. A sharp, large image gives the engine the most detail to match.
-
3
Run it through all three tools
Google Lens, Bing Visual Search and TinEye each have different indexes.
-
4
Open the page results, not just the thumbnails
Look for results labeled as pages that include the image, exact matches or the image source — similar-looking photos are not copies of yours.
-
5
Log what you find
Note the URL, the date, and whether the use is licensed. The ones that are not go into what to do when someone steals your photos.
What Gets Found — and What Slips Through
Copies of your photos are rarely perfect copies. They get resized, cropped, flipped and filtered on their way around the internet. How well each engine copes varies, but the general pattern is consistent:
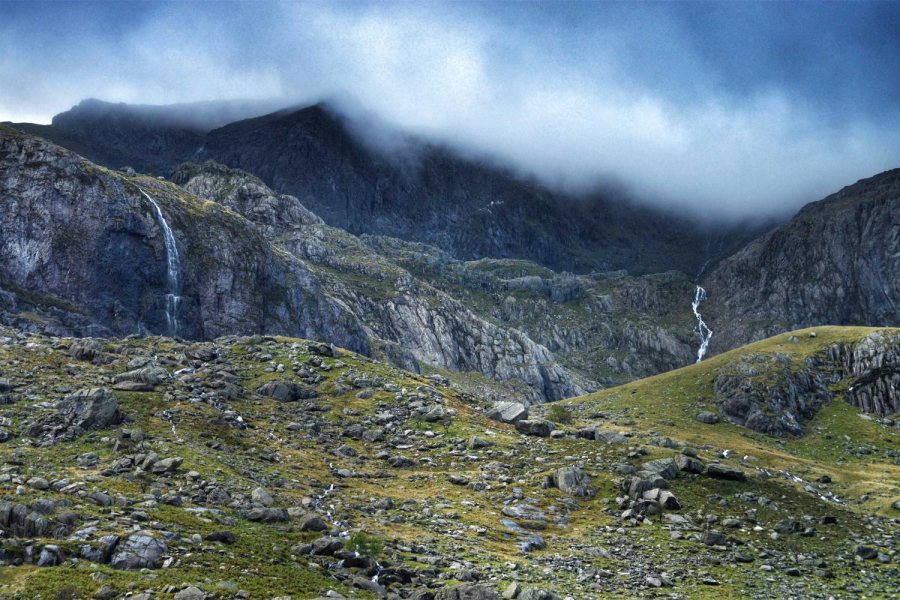
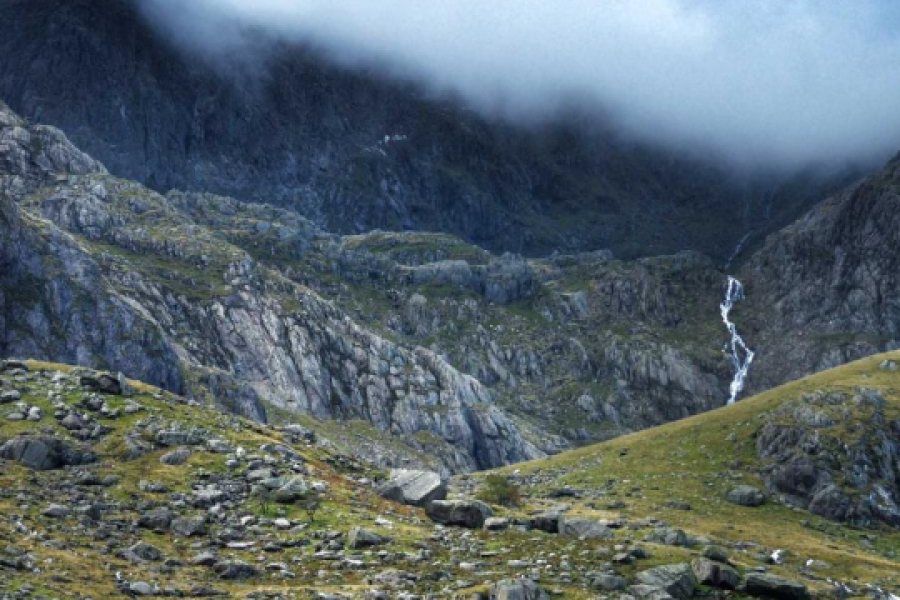
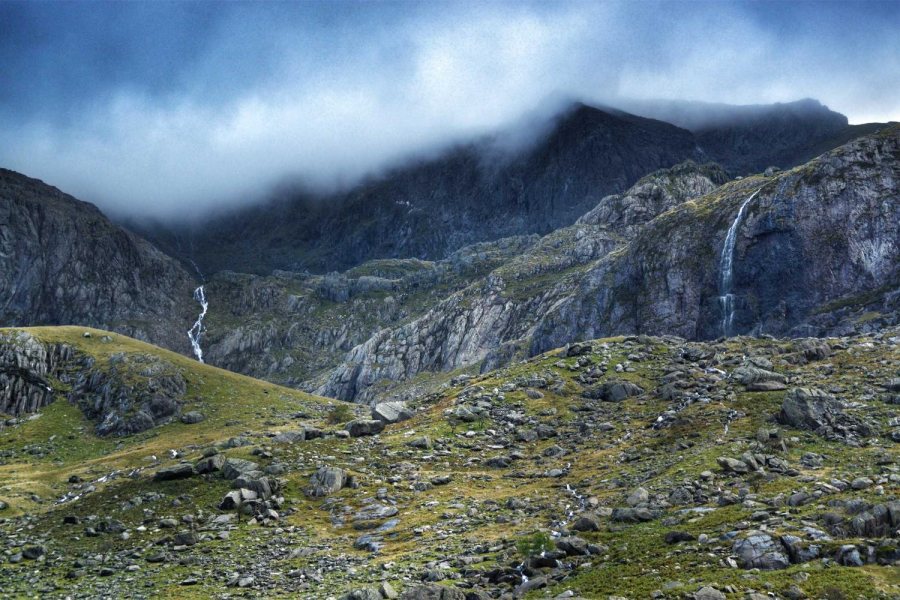

For photos you care about, it is worth making two extra search images: a mirrored version, and one in black and white. Both take seconds in any photo editor and catch copies that were flipped or filtered to avoid detection.
Search the Distinctive Part
When a copy has text over it, a new background, or has been cropped into a banner, searching the whole photo can fail. Search only the part of the photo that is most distinctive and least likely to have been changed.


In this seascape, most of the frame is soft sky and water that looks like thousands of other photos. The island is what makes it yours. Google Lens lets you drag the selection box to a part of the image, or you can crop a copy before uploading to any of the three tools.
Showing Where a Photo First Appeared
Sometimes the person using your photo claims it is theirs. Search results can help you show which copy came first.
- Sort by date. TinEye can order its results by date, which helps you see the earliest copies it has found.
- Compare sizes. The original is usually the largest, sharpest version. Copies are resized and recompressed each time they are shared.
- Look for your own posts. Your website, portfolio or social account posting it before anyone else is strong evidence.
Treat the dates with some care: a search engine's date is when it found a copy, not necessarily when the copy was published. Your own originals, RAW files and earliest posts remain the strongest proof.
Make It a Routine
- Once a month, search your ten most important photos. It takes minutes once you have the originals in one folder.
- After anything goes viral, search again — popular photos are copied fastest.
- Search by text too. Copies are often reposted with your original caption, title or file name. A normal web search for those can find pages an image search misses.
- Consider paid monitoring if photo licensing is your business. TinEye offers a paid alerts service that watches the web for your images and notifies you when they appear on new sites.
When you do find a copy, a visible watermark with your name makes it obvious — to you, the platform and anyone else — whose photo it is. A watermark placed over the subject is also much harder to crop away before the photo is reposted. See where to put a watermark.
What Reverse Image Search Cannot Do
A clean search result does not mean your photo has not been copied. Search engines only know about pages they can crawl, so a lot of copying is invisible to them:
- Private groups, closed accounts and anything behind a login.
- Messaging apps, where photos are forwarded rather than published.
- Brand-new pages that have not been indexed yet.
- Printed uses — flyers, packaging, posters — until someone photographs and posts them.
And not every match is a problem. Some will be people you licensed the photo to, press coverage you agreed to, or your own accounts. Check before you act.
Sample photos: Desk by Craig Garner, Mountain valley by James Pritchett, Island by Ivan Slade on Unsplash.