On this page
Why Share a Smaller File
A watermark protects what people can see. File size protects what they can do. A full-resolution photo can be printed large, cropped tightly, retouched, and resold. A web-sized copy looks just as good on a phone or laptop, but falls apart the moment someone tries to print it big or crop in on a detail.
- Share a copy, never the original. Keep full-resolution files for printing and for paying clients.
- For most web use, 1,600–2,400 pixels on the long edge is plenty. Social posts need even less.
- Save JPEGs at around 75–85% quality. The file gets much smaller and nobody sees the difference.
- Resize and watermark in the same pass so every shared copy is both smaller and marked.
What a Big File Gives Away
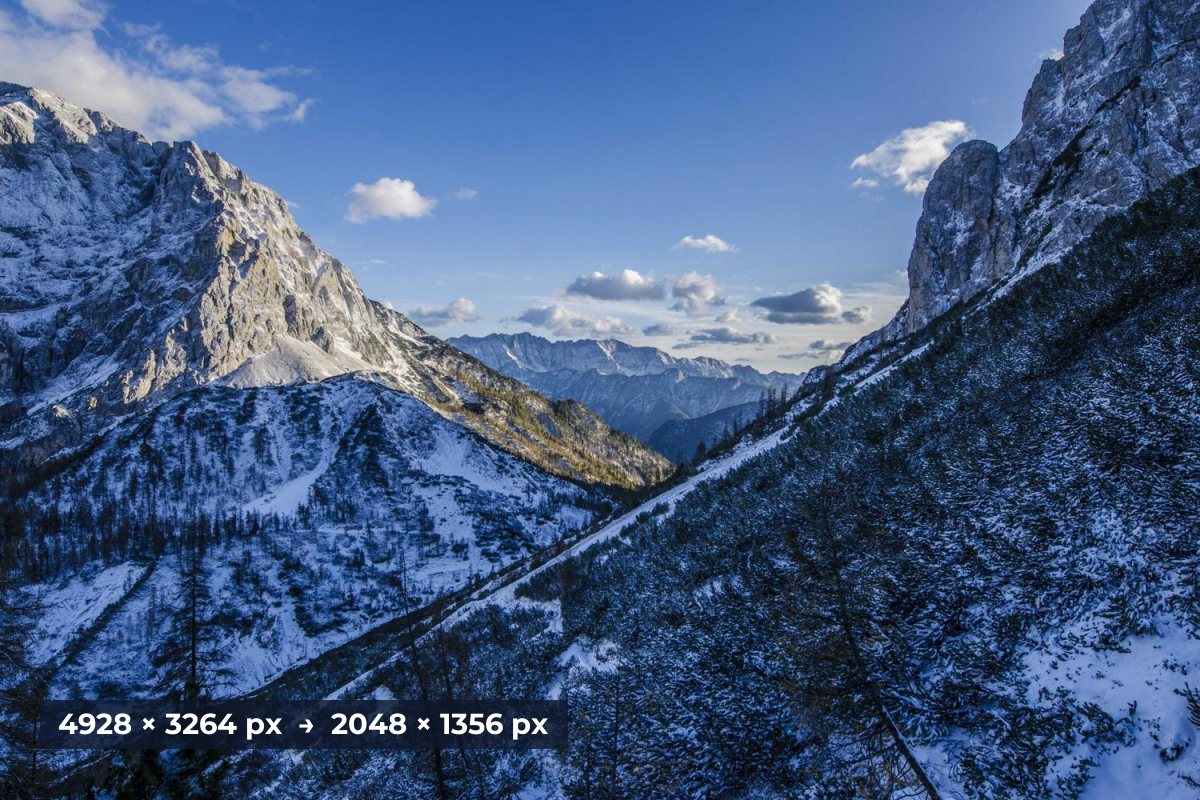
Here is a whole photo, with a small area marked in red. Below, that same area is shown from the full-resolution original and from a 1,600-pixel web copy, both enlarged to the same size.
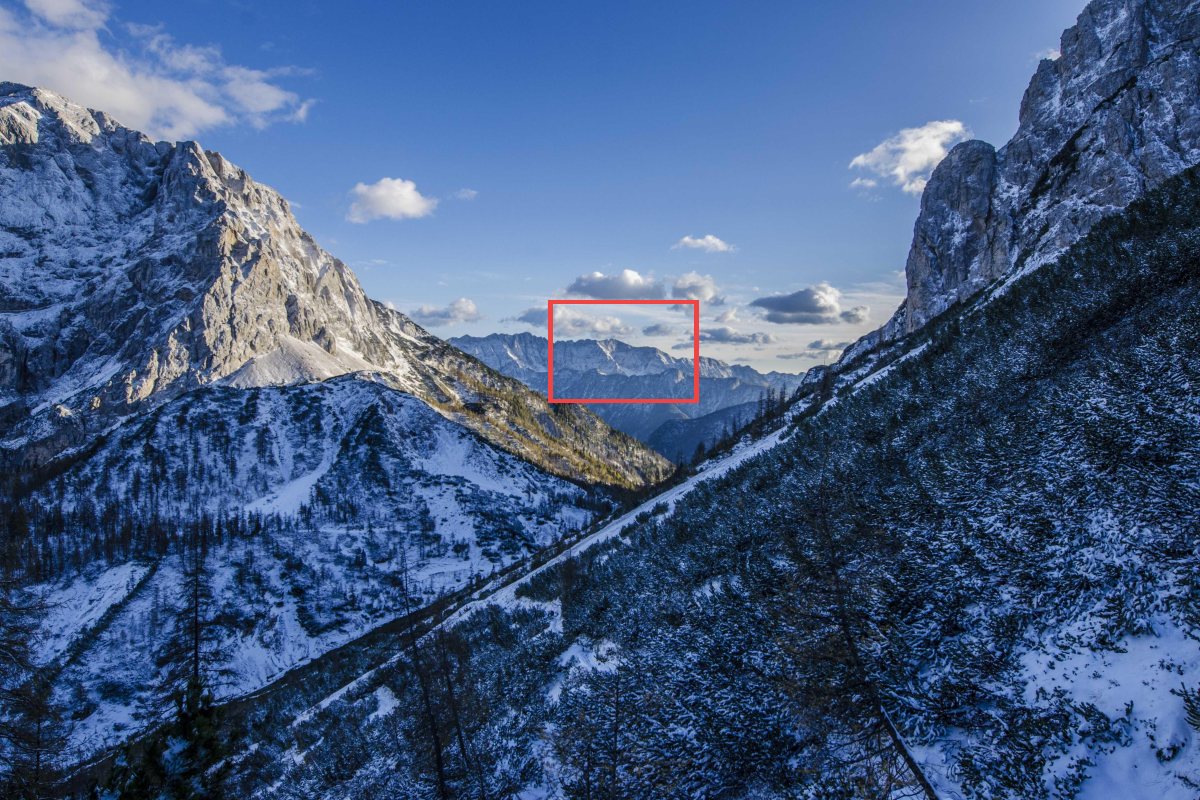
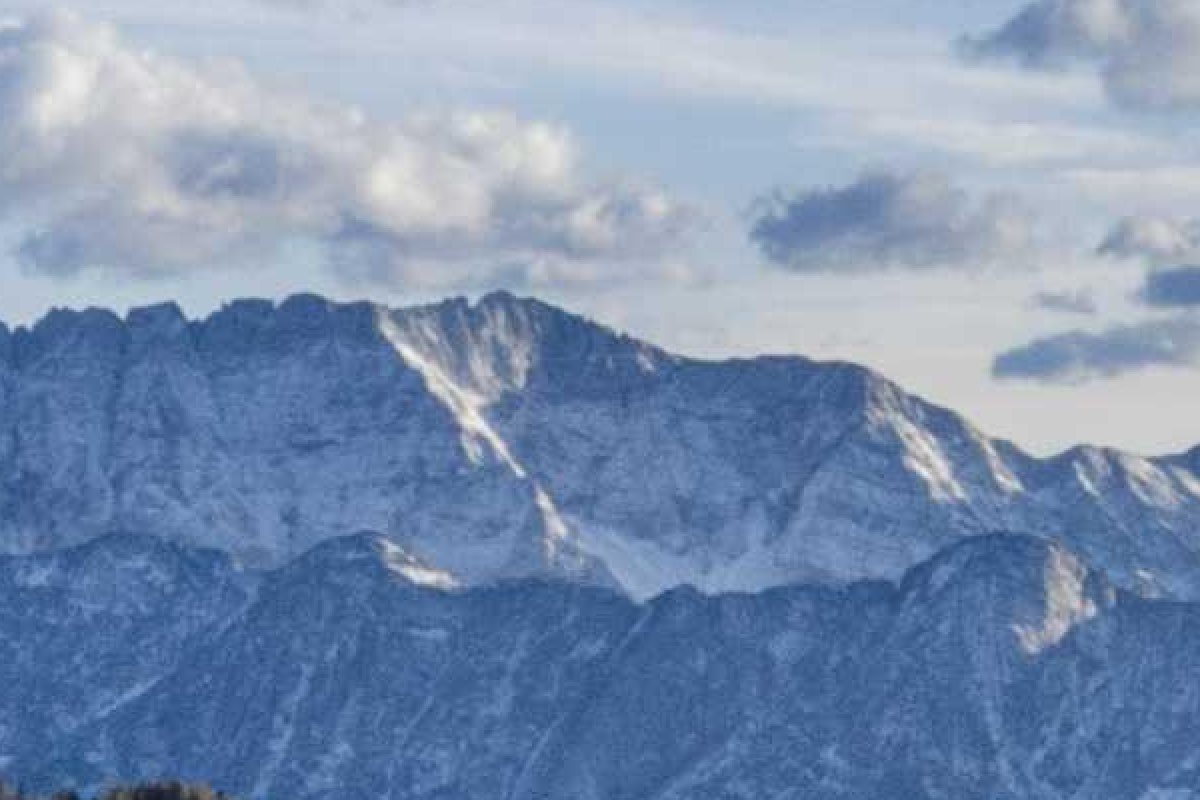

The original still has crisp detail in a tiny corner of the frame. That is what makes it valuable to someone who wants to crop a new image out of it, print it as a poster, or sell it as their own. The web copy looks identical at normal viewing size — but it simply does not contain that extra information.
Prints make the same point with numbers. A common rule of thumb for sharp prints is around 300 pixels per inch, so the long edge in pixels divided by 300 gives a comfortable print size. A 2,048-pixel image prints sharply at only about 7 inches; the 4,928-pixel original manages about 16. The client proofs guide has a print-size table if you want the details.
Which Size for Which Use
Sizes are given for the long edge — the width of a landscape photo or the height of a portrait one. Treat them as starting points: they are big enough to look sharp on modern screens without handing over a print-ready file.
| Where it goes | Long edge | Notes |
|---|---|---|
| Social media posts | 1,080–2,048 px | Platforms resize anyway. Instagram shows feed photos at up to 1,080 px wide. |
| Website, blog and portfolio | 1,600–2,400 px | Sharp on large screens. Go to the top of the range for full-width images. |
| Client proofs and previews | About 2,000 px | Enough to choose from, not enough to print well. |
| Email attachments | 1,200–1,600 px | Keeps messages small and fast to open. |
| Marketplaces and stores | Check the platform | Some require a minimum size for zoom features. |
| Prints and paid deliveries | Full resolution | This is the file people pay for. Do not post it publicly. |
To cap the long edge regardless of orientation, resize into a square box — for example 2,048 × 2,048 — with a mode that keeps the proportions. Landscapes come out 2,048 wide, portraits 2,048 tall, and nothing is cropped.
JPEG Quality: Smaller Files, Same Look
Pixel size is one half of file size. The other is compression. JPEG files are saved with a quality setting, and the top of the scale mostly adds file size you cannot see. Here is the same 1,600-pixel photo of water — a hard subject for compression — saved at four settings, with a small area enlarged three times so the differences show:




File sizes are for this photo; yours will vary with the subject. The pattern is consistent, though: dropping from 95 to around 80 roughly halves the file with no visible cost, while going much lower starts to damage fine texture like water, foliage and hair.
Social networks, marketplaces and messaging apps also recompress what you upload. If you hand them a file that is already sensible in size and quality, there is less for them to throw away — and less chance of the heavy compression that turns a faint watermark into mush. How transparent a watermark should be shows that effect.
Contain, Trim or Stretch?
The Resize tool in Watermark.ws sets a width and height in pixels or as a percentage of the original, and offers three ways to fit the photo into that size. Here is a 3:2 photo resized into a 1,200 × 1,200 box with each one:
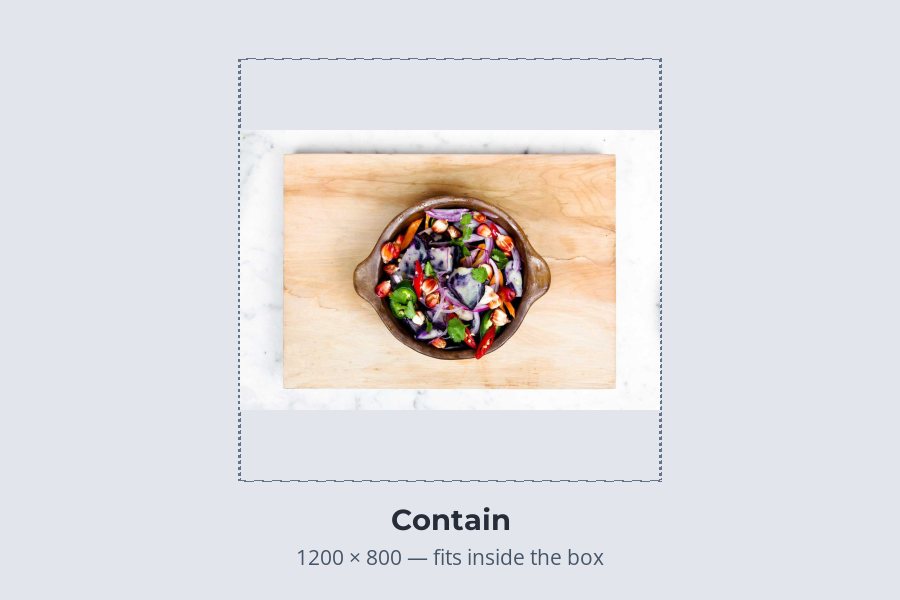
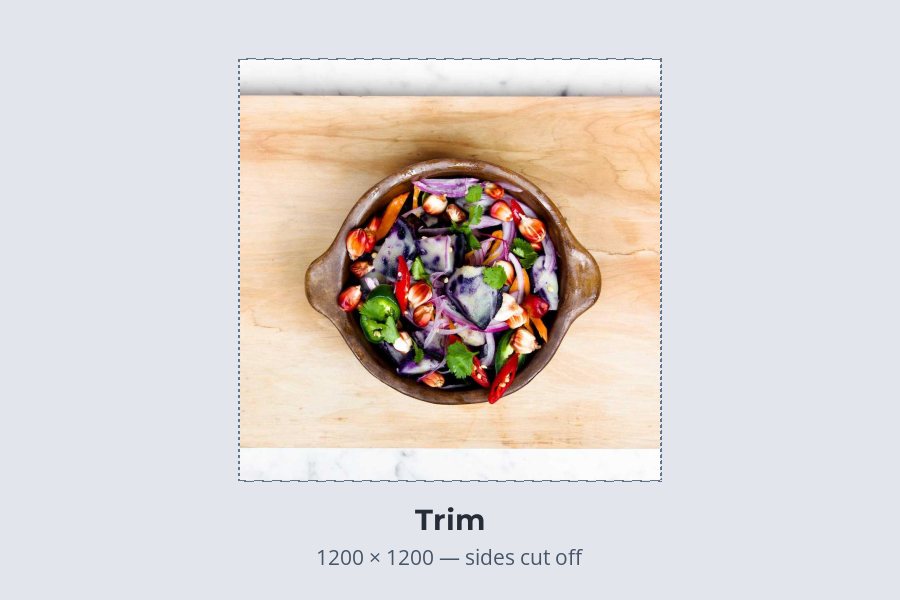
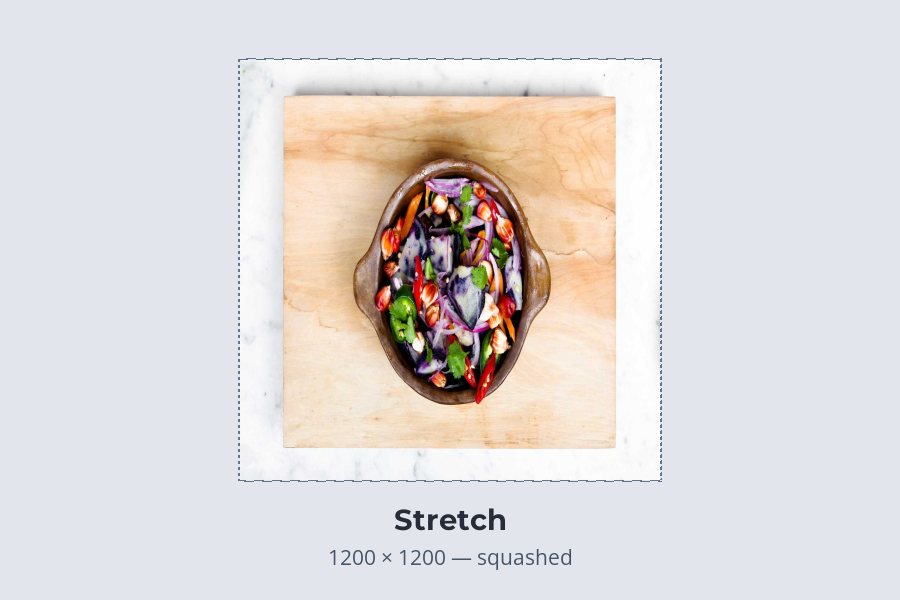
For sharing online, Contain is almost always right: it keeps the proportions and never cuts anything off. Pick a box smaller than your originals — the point is to share less than you shot, and a photo scaled up past its real size only gets softer. Trim is useful when a platform needs an exact shape, such as a square thumbnail. Stretch changes the photo’s proportions — the round bowl becomes an oval — so keep it for graphics where that does not matter.
Resizing Checklist
- Keep full-resolution originals offline or for paying clients only.
- Share web copies around 1,600–2,400 px on the long edge.
- Save JPEGs at roughly 75–85% quality.
- Resize before you judge the watermark, so you see it at its real size.
- Use a square Contain box to cap the long edge for mixed orientations.
- Post the camera original “because it looks sharper.”
- Upscale a small photo to make it look bigger — it only gets softer.
- Use Stretch on photos; it distorts faces and objects.
- Save at the lowest quality to shave a few kilobytes.
- Rely on a platform’s own resizing — you do not control how it stores or serves your upload.
Resize and Watermark a Batch in One Pass
-
1
Upload the photos
Add a whole shoot at once.
-
2
Add a Resize step
Enter a width and height in pixels smaller than your originals — for example 2,048 × 2,048 — and choose Contain.
-
3
Add your watermark
Place and style it on the resized preview, so you see it at the size people will.
-
4
Apply to all photos
When asked, apply the resize and the watermark to every file in the batch.
-
5
Save it as a template
Next time, one click gives you the same size and watermark.
Your originals are not changed, so you can always go back for a bigger version. For more on organizing large jobs, see a batch watermarking workflow that scales.
Sample photos: Mountain valley by Ales Krivec, Water by Marcelo Quinan, Salad bowl by Monstruo Estudio on Unsplash.