On this page
Where Batch Watermarking Goes Wrong
The mechanics of batch watermarking are simple: upload, add a watermark, apply it to everything, download. The batch watermarking guide walks through those steps. The problems start later, when you are doing it for the tenth client this month:
- The wrong version goes out. A client receives watermarked proofs instead of clean finals — or worse, clean full-resolution files instead of proofs.
- The watermark drifts. A slightly different size, font or position every time, because it is recreated from memory.
- Originals get lost. The only copy of a photo is the one with a watermark on it.
- Exceptions eat the time. One photo where the mark lands on a face turns into re-exporting the whole batch.
Every one of these is a workflow problem, not a watermark problem. The fixes below are simple habits that take minutes to set up and save hours afterwards.
Decide Your Export Sets First
Most people need two or three versions of the same photos, each for a different audience. Name them before you start, and every later decision gets easier:
| Set | Watermark | Size | Who gets it |
|---|---|---|---|
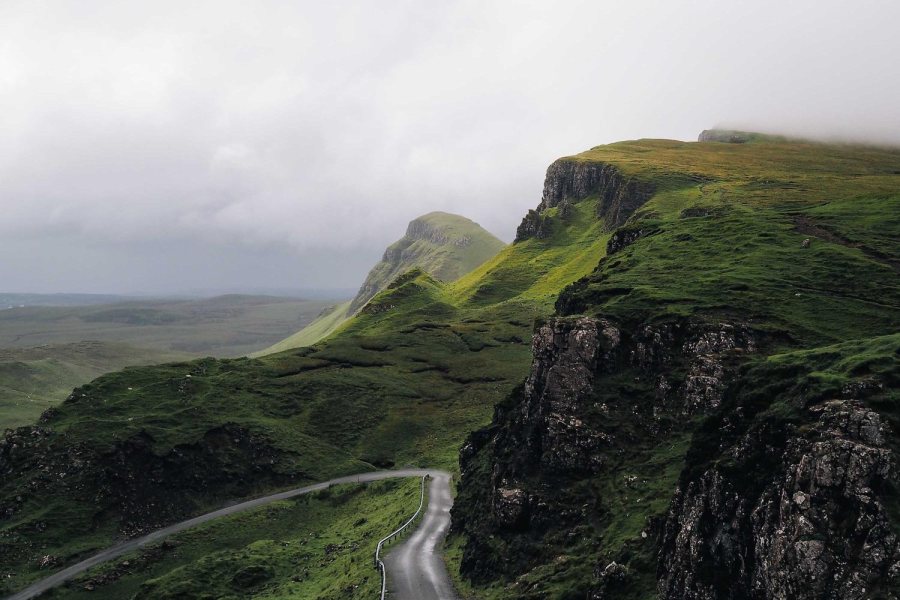
| Clean | None | Full resolution | Paying clients, print labs, marketplaces with no-watermark rules |
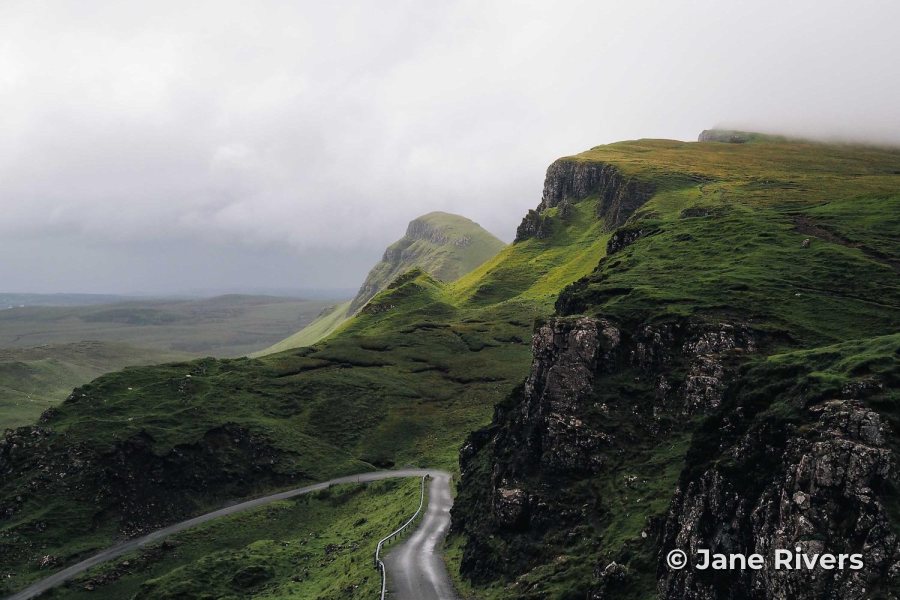
| Branded | Small name or logo | Web size (e.g. 2,048 px) | The public: social media, website, blog |
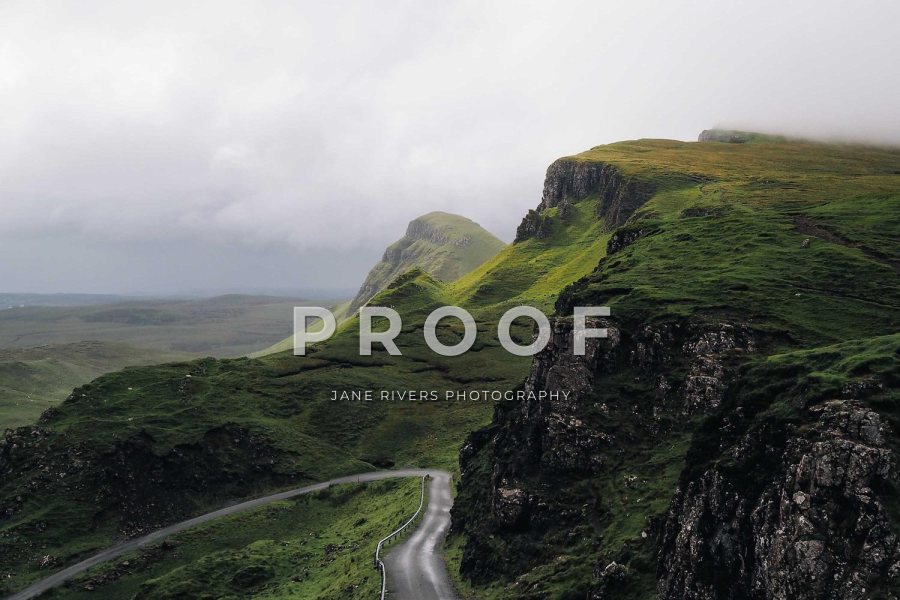
| Proof | Large PROOF mark | Around 2,000 px | Clients choosing photos before payment |
Some businesses need a fourth, such as a version for a partner or a publication. That is fine — the point is that each set has a fixed recipe. See how to watermark client proofs and resizing photos before sharing for the details of the proof and branded sizes.
One Template per Export Set
A template turns a recipe into a single click. In Watermark.ws, you can save a batch’s settings as a template — the watermark and the other edits applied to the batch, such as a resize — and reuse it on the next batch. When you apply an edit to a batch of photos, the same dialog that asks whether it should go on one photo or all of them also offers to save it as a template.
Make one template for each export set, and name it after the set, not the look:
| Good template name | Why it works |
|---|---|
| Branded — web 2048 | Says who it is for and the size, so you pick it without opening it. |
| Proof — 2000 px | Nobody confuses it with a delivery template. |
| Branded — dark photos | A variant for bright or dark batches, with the same position and size. |
Avoid names like “New watermark 3” or “Final final”. In six months, the name is all you will remember. Files already in your library can also be opened with Edit With Template, so an older upload gets exactly the same treatment as today’s batch.
Keep Each Client or Project in Its Own Folder
Mixing clients in one place is how the wrong photos get sent to the wrong person. Watermark.ws lets you create and rename folders for your uploaded files and start a new batch from a folder. A simple structure — one folder per client or project, named with a date — scales to hundreds of jobs.
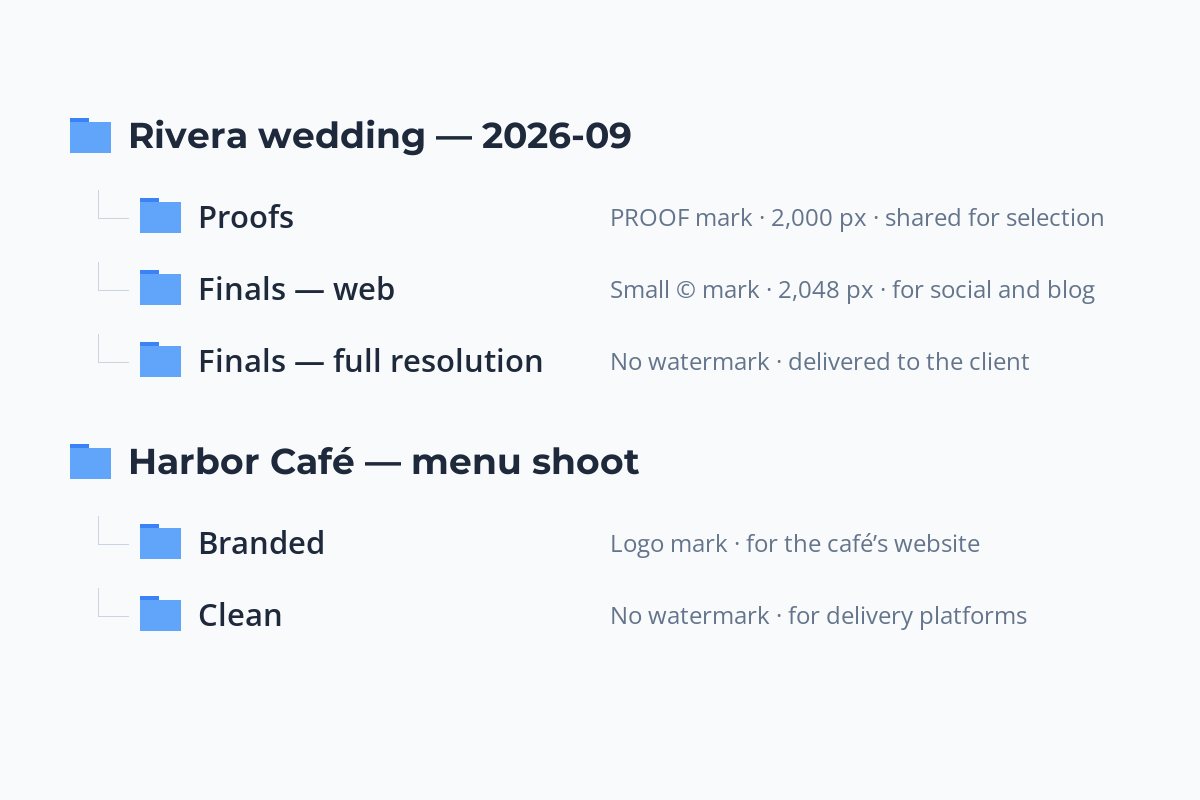
On your own computer, mirror that structure for what you download: a sub-folder per export set inside each job. When a client asks for their files, you open one folder and there is no doubt which set is which.
A proof and a final of the same photo can easily end up with similar file names, so they look identical in a file list. Save each set into a clearly named folder — “Proofs”, “Finals — web” — or add a suffix such as -proof in your file manager before you share them.
Sort Before You Upload
A template works best when the photos in a batch are alike. Two quick sorts before uploading save most per-photo fixes:
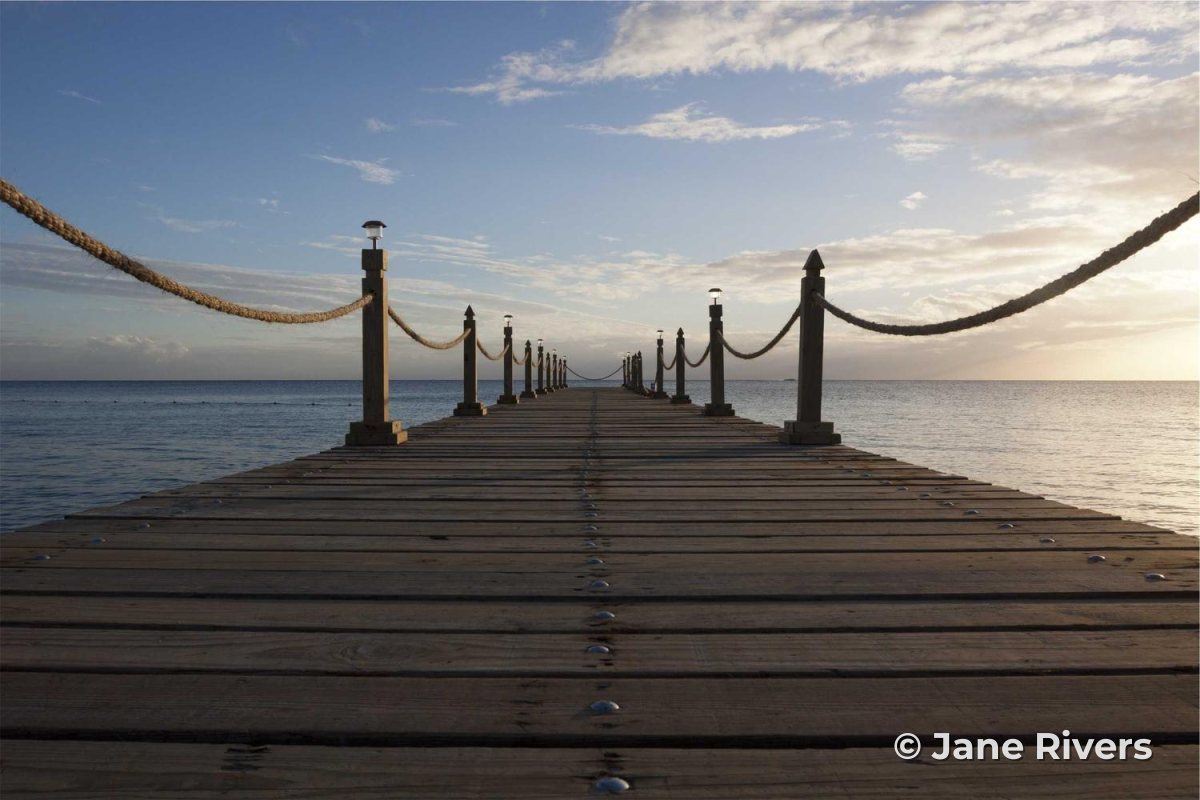
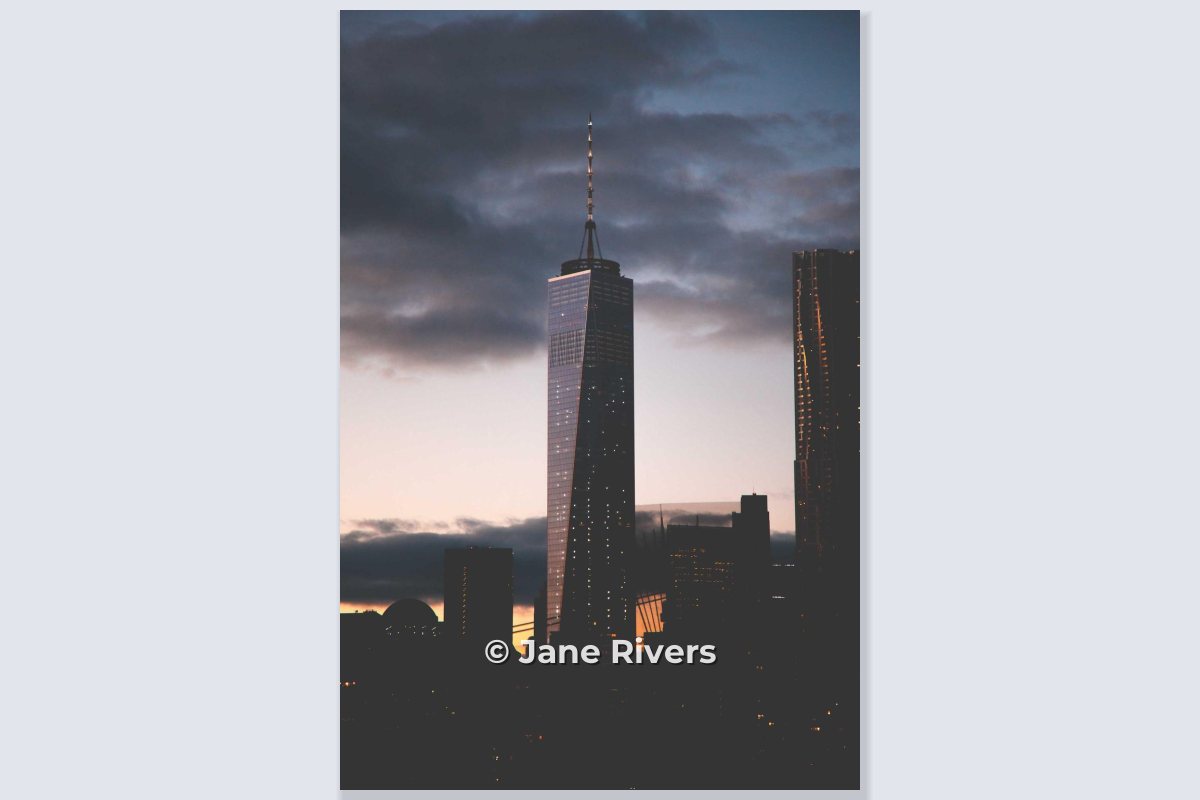
- By orientation. A position that suits wide photos — like the lower right corner — can feel cramped or land on the subject in tall ones. Upload portraits and landscapes as separate batches, each with its own position.
- By brightness. A white watermark that reads on most of a shoot disappears on the few bright, high-key frames. Put those in their own batch and use a dark variant of the same template. What color a watermark should be covers when to switch.
Fix Exceptions Without Breaking Consistency
Even in a well-sorted batch, some photos need a nudge: the mark lands on a face, a sign, or the one detail that matters.


Apply the watermark to the whole batch first, then scroll through and adjust only the photos that need it. Change the position, not the size or opacity, so the batch still looks like one set. The rest of the batch keeps the original settings.
It usually means the batch mixes two kinds of photo — orientations, framings or tones. Split it and use a second position, rather than fixing photos one by one.
Never Let a Watermarked File Be Your Only Copy
Watermark.ws works on copies: your originals are not changed, and downloads are new files. The risk is on your side — deleting camera originals once the watermarked set is exported, or saving downloads into the same folder where they can overwrite files with matching names.
- Keep originals in one place and never export into it. Downloads go to a separate folder per job and set.
- Back originals up before you start. Watermarking is often the last step before sharing — a good moment to check the backup ran.
- Deliver finals from the originals, not by trying to remove a watermark from a branded copy.
The Whole Workflow, Start to Finish
-
1
Back up and sort
Copy the originals to your archive. Split the shoot by orientation and, if needed, by bright versus dark.
-
2
Upload into the job’s folder
One folder per client or project, named with the date.
-
3
Apply the template for the set you need
Proof, branded or another set — the size and watermark come with it.
-
4
Review and nudge exceptions
Move the mark on any photo where it covers something important.
-
5
Download all
Download the whole batch at once. Very large batches can be split into several downloads.
-
6
File the download under the set’s name
Save it into the job’s “Proofs” or “Finals — web” folder before sharing.
Once the templates exist, a new job is mostly steps 1, 3 and 6. For more on choosing the mark itself, see what to write in a watermark and where to put it.
Sample photos: Hillside by Andrew Ridley, Jetty by Dirk Sebregts, Tower at dusk by Anthony DELANOIX, Shopfront by Thong Vo, Meadow by Silvestri Matteo, Forest by Ales Krivec, City at sunset by Geoffrey Arduini, Palm trees by Florian Klauer on Unsplash.