On this page
How to Watermark Commissions and WIPs
The way to watermark art without ruining it is to match the watermark to the stage. A work in progress you post for fun needs only a signature. A commission preview a client has not paid for needs a watermark across the piece, faint enough to judge the work through. The finished file, once paid for, goes out clean.
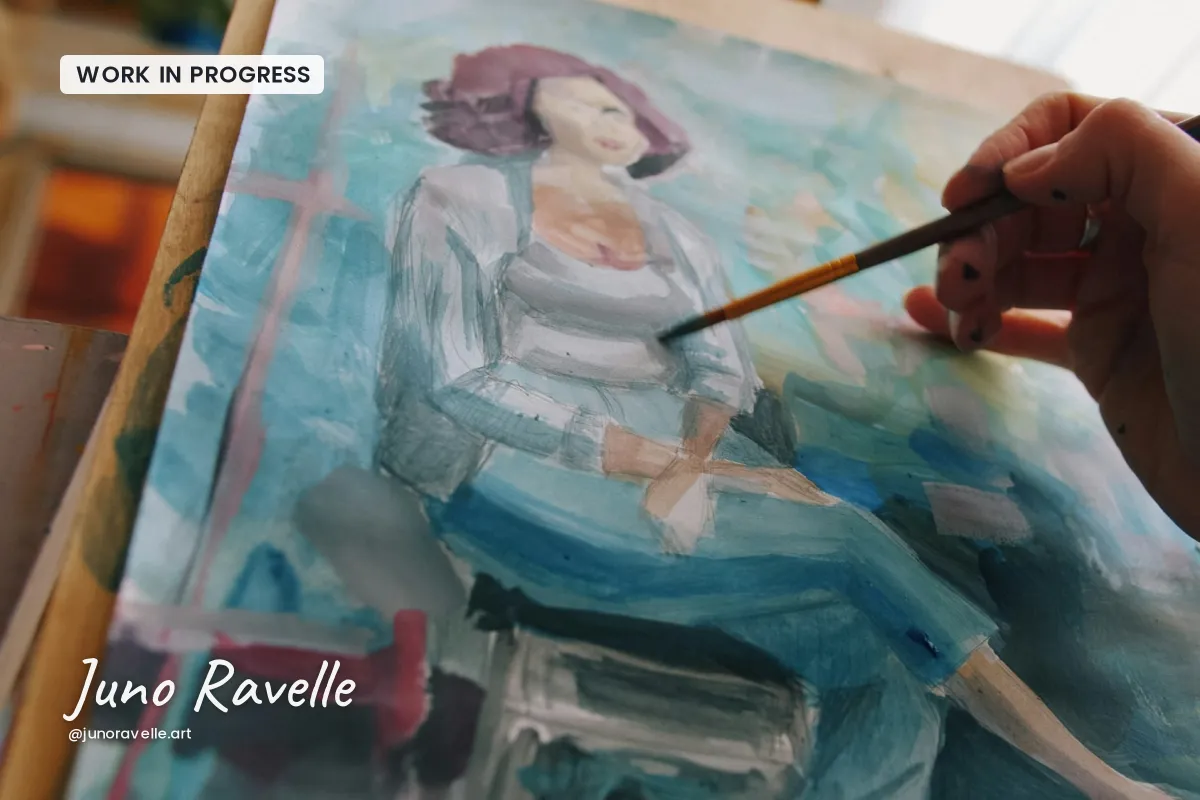
- WIP posts: a small signature and your handle, plus a "WIP" label so nobody mistakes it for the finished piece.
- Sketches sent to a client: a faint diagonal line of text across the drawing, because line art is the easiest stage to trace.
- Commission previews before payment: a faint tiled watermark over the whole piece, sent at screen size.
- After payment: the full-resolution file with no watermark, and a request to credit you when they post it.
| Stage | Risk | Watermark |
|---|---|---|
| Sketch or line art | Traced or finished by someone else | Faint diagonal text across the lines |
| WIP post | Reposted without credit | Small signature and handle, "WIP" label |
| Preview for the client | Used before paying | Faint tiled watermark, screen-size file |
| Final delivery | None; it is paid for | No watermark |
| Portfolio post of the final | Reposted without credit | Small signature |
Protect the Piece Without Ruining It
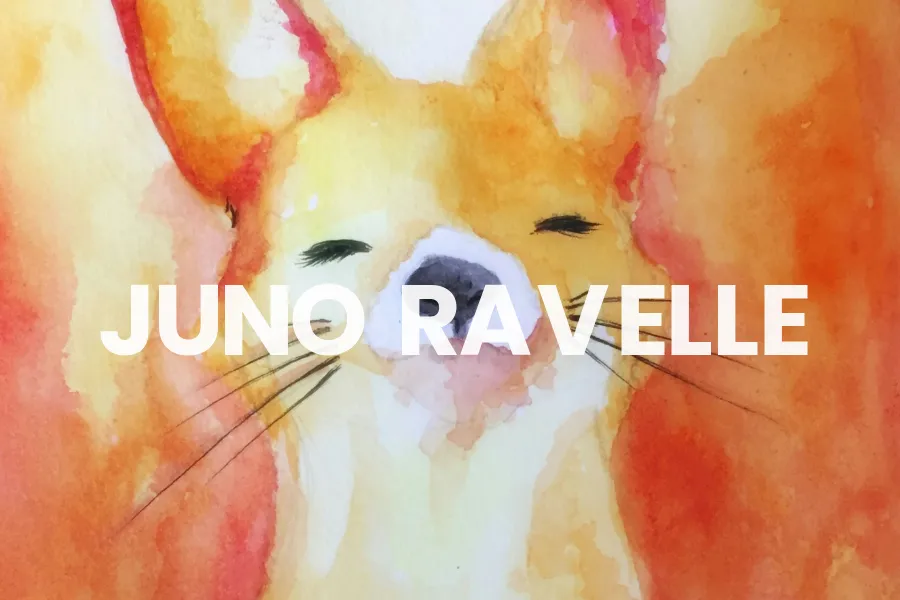
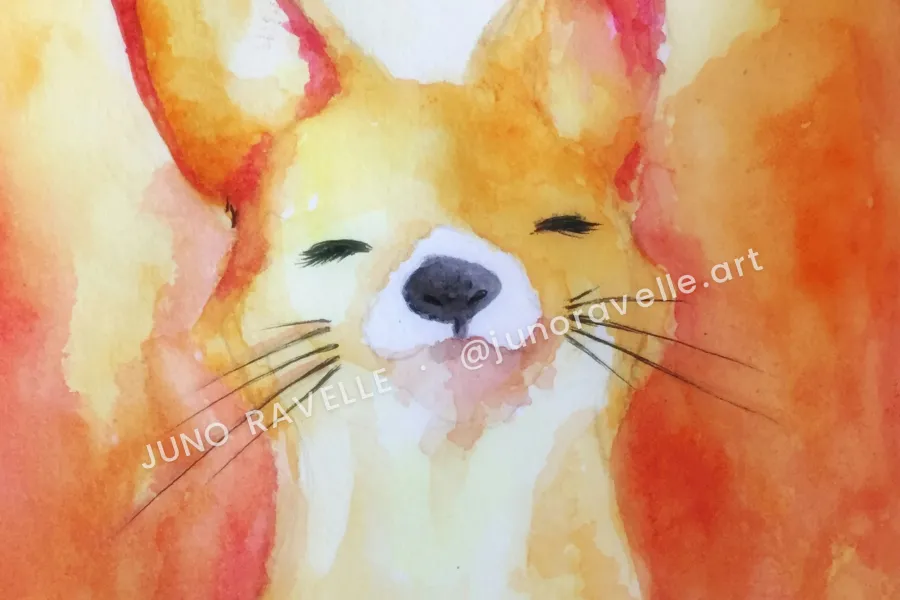
Artists worry, rightly, that a watermark will ruin the art. The answer is not to make the watermark small and hide it in a corner, which makes it easy to crop, but to make it large and quiet. These three versions of the same commission show the difference:

- Cross the piece, not the focal point. Run the watermark through the body, the background or the lower third, rather than across the eyes or the face.
- Lower the opacity, not the size. A large watermark at 30–60% opacity protects better and distracts less than a small solid one.
- Use a light, thin font. Thin letters disappear into the texture; heavy ones sit on top of it.
- Take the color from the art. White over warm watercolor, a soft gray over pencil, a dark tone over pale backgrounds.
For finished pieces you post or sell, how to watermark artwork without ruining it covers photographing the work, file sizes and placement in more depth. For opacity specifically, see how transparent a watermark should be.
Sharing Works in Progress
Progress shots, process videos and sketchbook pages are some of the most shared posts an artist makes. They show your skill, they bring in commissions, and they get reposted more casually than finished work, often without credit.
A WIP does not need protection so much as a name on it. A small signature and your handle in a corner of the canvas or paper, plus a short "WIP" label, does three jobs. People who see a repost can find you. Nobody mistakes the unfinished version for the final piece. And if someone tries to pass off the piece as theirs, your earlier, signed progress shots are evidence of who made it.
Layered files, dated progress shots and sketches are some of the best proof of authorship you can have if a dispute ever comes up. Keep them, even after the commission is delivered.
Sketches and Line Art
The sketch stage is where clients approve the pose and composition, and it is also the stage that is easiest to misuse. Clean line art can be traced, colored or handed to a cheaper artist to finish. A faint line of text across the drawing deals with that without getting in the way of feedback.

Gray suits pencil and ink, because it blends into the graphite instead of standing out like a sticker. Put the stage in the watermark ("SKETCH", "COLOR PASS", "V2") and clients always know which version they are looking at. The same idea is used for design drafts; watermarking design drafts goes into versioned watermarks in detail.
Commission Previews Before Payment
The finished piece, sent for approval before the final payment, is the one image a client could simply keep. That is where a stronger watermark belongs.
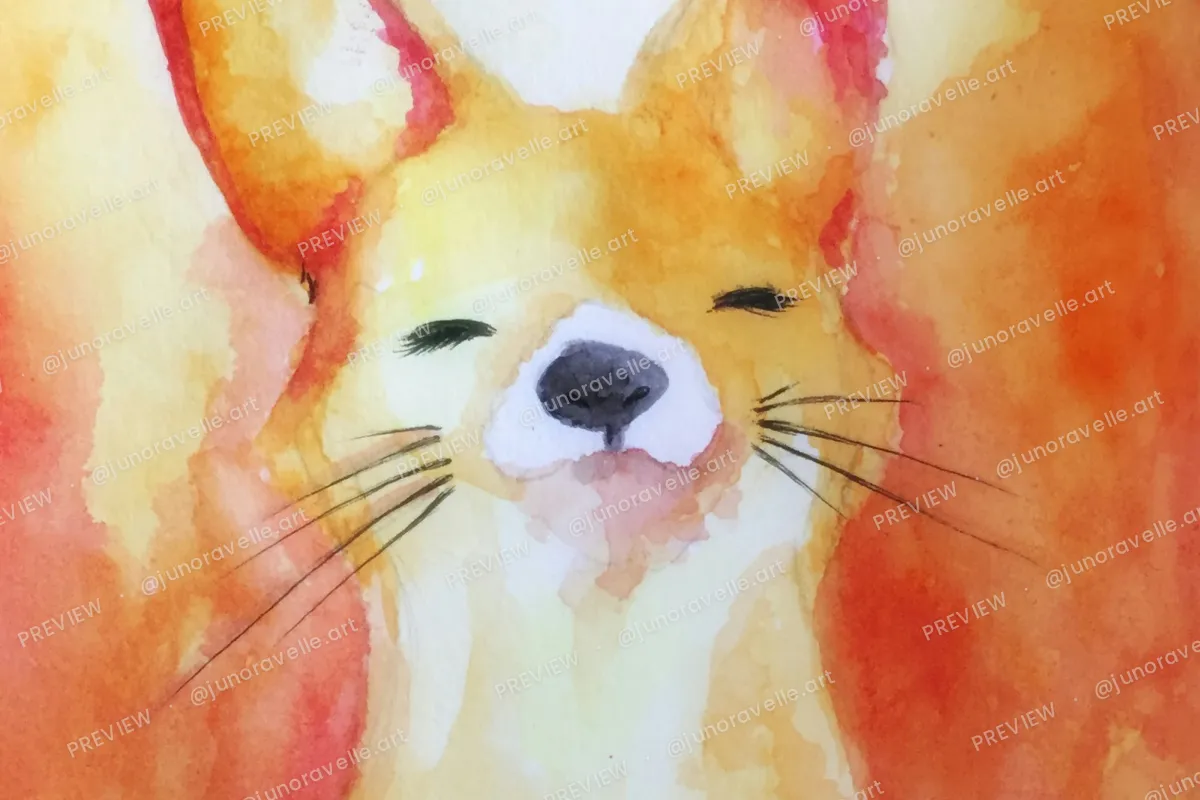 Preview
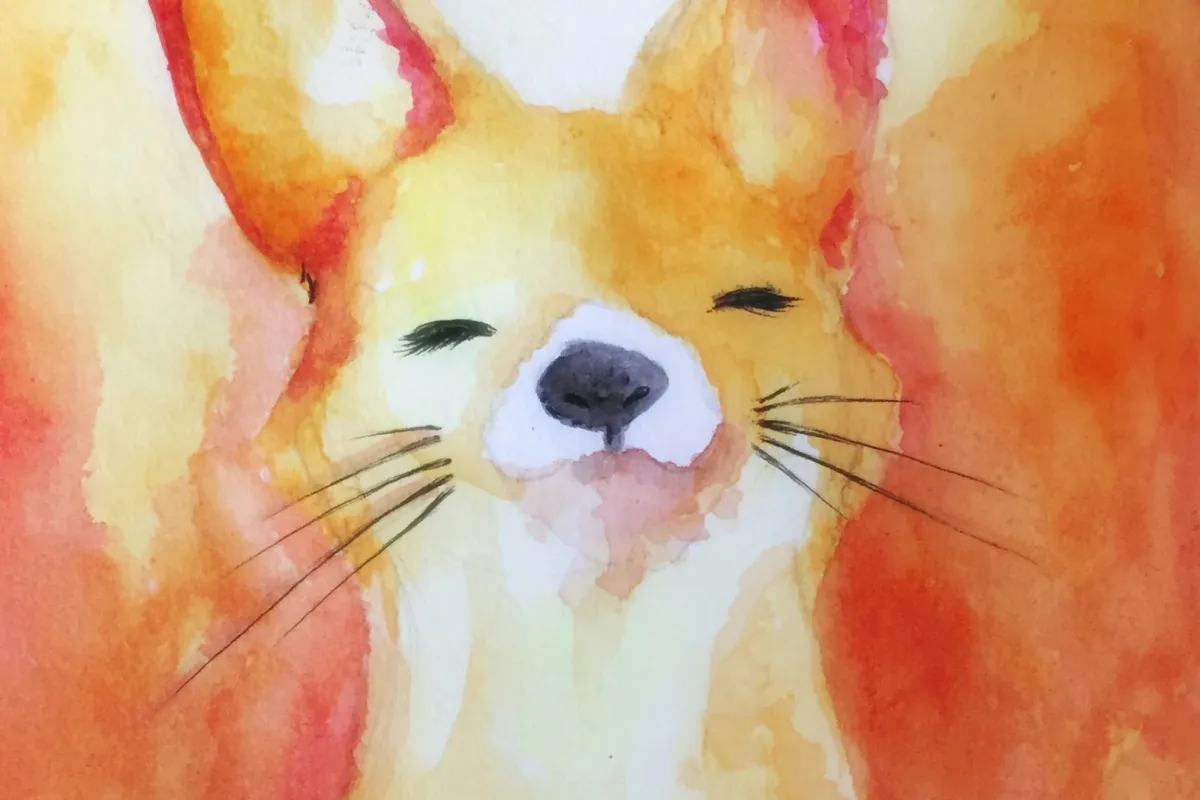 After payment
A faint tiled pattern of "PREVIEW" and your handle covers the whole piece, so no crop removes it, while the client can still check every detail they asked for. Send it at screen size, around 1,000–1,500 pixels on the long edge, so it is fine on a phone but useless for printing. A tiled watermark is the standard for this; tiled watermarks covers spacing and angle.
- Say it in your terms. State that previews are watermarked and that the clean, full-size file is sent once the balance is paid.
- Many artists take part of the fee up front, so the watermark only has to protect the remainder.
- Keep revisions on the preview. Make changes on the watermarked version until the client approves.
Delivering the Final and Getting Credit
Once the commission is paid for, deliver the full-resolution file without a watermark. A watermark on paid work feels like distrust, and the client may want to print or frame it.
Paying for a commission does not by itself transfer the copyright. In the US and the UK, the artist normally keeps it unless a written agreement says otherwise, and the client gets permission to use the piece in the ways you agreed, often personal use only, with commercial use priced separately. Say what the client may do with the piece, and ask them to credit you with your handle when they post it.
When you post the finished piece in your own portfolio, a small signature is enough. If AI scraping is a concern, a watermark alone will not stop it; protecting art from AI training explains what helps, and Glaze vs Nightshade compares two tools many artists run before posting.
Commission Watermark Checklist
- Label WIP posts, and sign them with your handle.
- Cross sketches with a faint line of text.
- Tile a faint PREVIEW over unpaid finals.
- Send previews at screen size.
- Deliver the paid file clean and ask for credit.
- Put a solid, heavy watermark across the face or focal point.
- Rely on a corner signature to protect an unpaid piece.
- Send full-resolution files before the final payment.
- Watermark the file a client has paid for.
- Delete your layered files and progress shots.
Setting It Up in Watermark.ws
-
Upload the piece
Add a PNG or JPG export of the artwork, or a batch of progress shots.
-
Add your signature or handle
Type it in a handwritten font from the preset library, upload your own font, or add a scanned signature as a transparent PNG.
-
Set the opacity and angle
Lower the opacity, rotate the text slightly and place it across the piece, away from the focal point.
-
Tile it for previews
Turn on Tile and set the spacing for a full-coverage PREVIEW pattern, then resize to screen size.
-
Save templates
Keep one template each for WIP posts, sketches and previews, so every stage takes one click.
Sample photos: Painting in progress by Vitaly Gariev, Watercolor pet portrait by Fuu J, Pencil sketch by Andrés Gómez on Unsplash.