
On this page
- Why Recipe Photos Get Copied
- Put Your Website in the Watermark
- Overhead Shots: Use the Negative Space
- 45° and Close-Up Shots: Keep It Off the Food
- Tall Pinterest Images
- Step-by-Step and Process Photos
- Keep It Appetizing
- Where It Goes on Each Kind of Food Shot
- Watermark a Whole Recipe Post in Watermark.ws
Why Recipe Photos Get Copied
A recipe itself is mostly a list of ingredients and steps. The photo is the part you actually made — the styling, the light, the hours of reshooting a sauce until it looked right. It is also the part that travels. Recipe roundups, scraper sites and social accounts lift food photos because a good photo is what makes people click.
When a photo is shared from your post with a proper link, readers can find their way back. When it is downloaded and uploaded somewhere else, that link is gone. The only credit left is whatever is in the pixels — which is where a watermark comes in.
- Use your website address, not just your name. It is the one credit that leads straight back to the recipe.
- Keep it off the food. Put it on the table, the background or the empty space around the plate.
- Match the shot. Overhead photos have negative space to use; 45° shots have a soft background.
- Stay consistent across every photo in a post, including step-by-step shots and Pinterest images.
Put Your Website in the Watermark
A name tells people who made the photo. A web address tells them where the recipe is. For a food blog, the second is worth far more: someone who sees your photo on a roundup site wants the recipe, and your address is the shortest path to it.
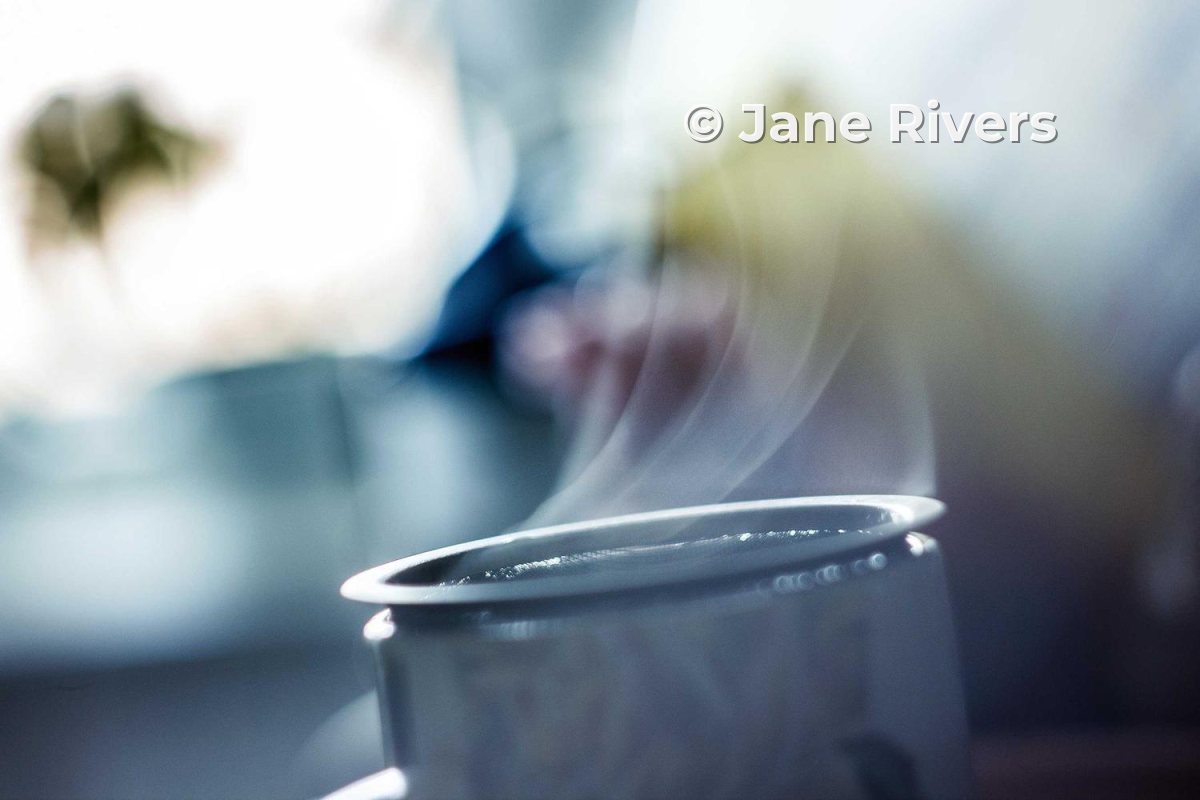
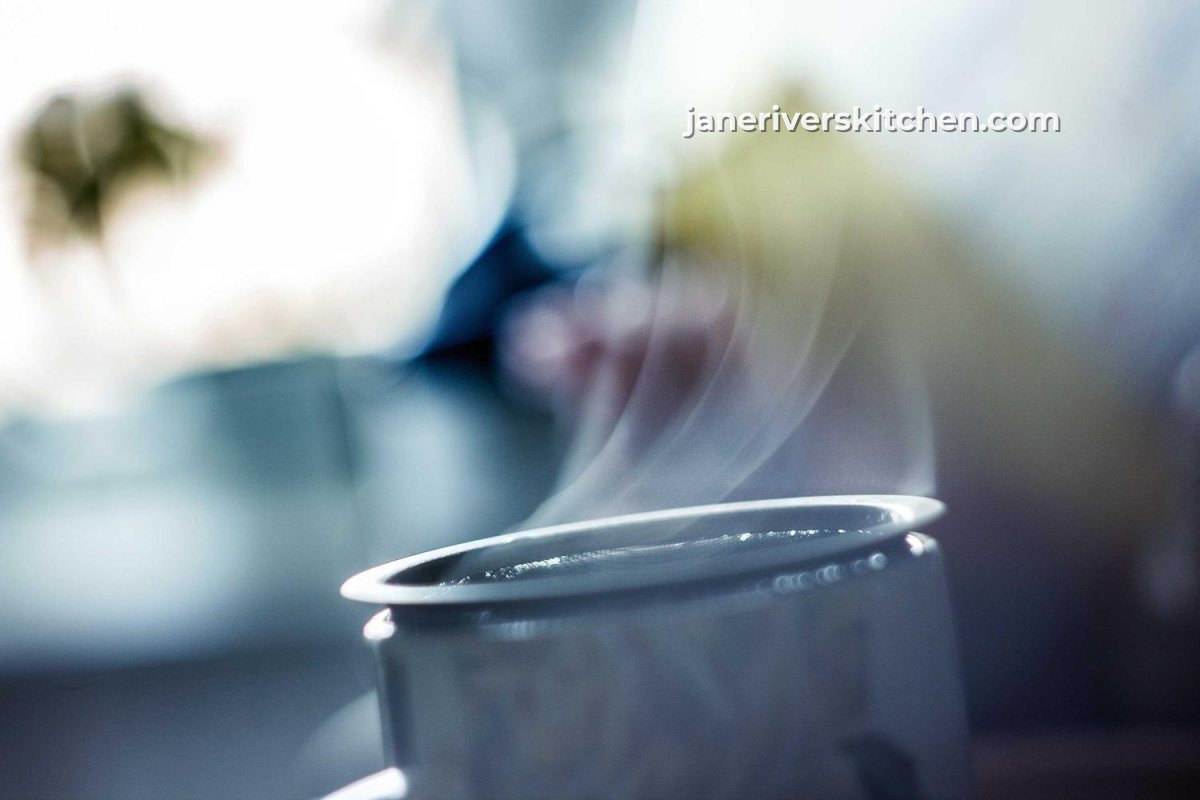
Keep the address as short as it can be: drop the https:// and the www. If your blog name and domain are the same, the domain does both jobs at once. For more on the wording itself, see what to write in a watermark.
Overhead Shots: Use the Negative Space
Flat lays and overhead shots are built on empty space — a colored surface, a linen cloth, a board with room around the plate. That space is the natural home for a watermark. The trap is pushing it all the way into a corner, where a quick crop removes it without touching the food.


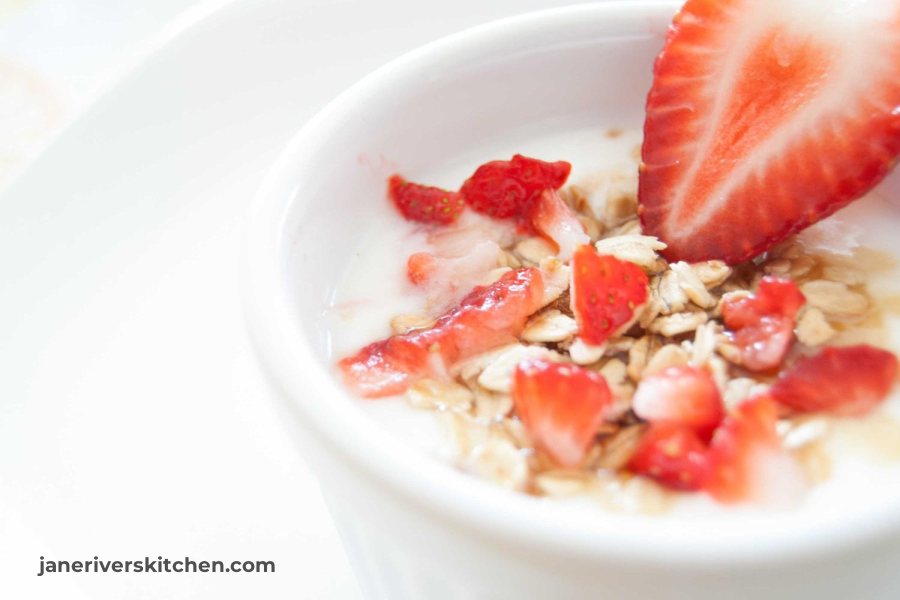
Just below or beside the plate, the watermark still sits on empty surface, so it never covers the food — but cropping it out now means cropping into the composition. It also reads as part of the layout, the same way a caption does in a magazine spread.
45° and Close-Up Shots: Keep It Off the Food
Angled and close-up shots fill more of the frame with food and leave less empty surface. It is tempting to place the watermark across the middle to protect the photo. On food, that backfires: a semi-transparent layer over a dish reads as a smear, a reflection or something on the plate, and it makes the food look less appetizing.
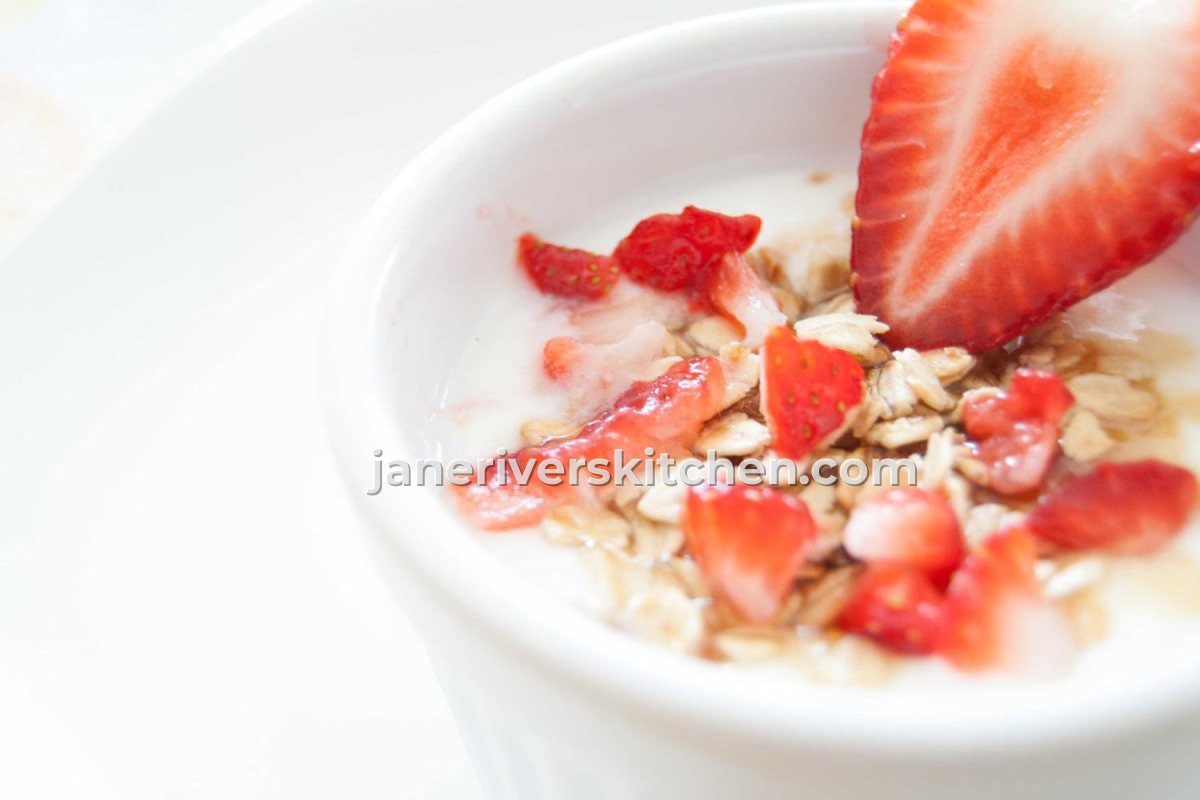
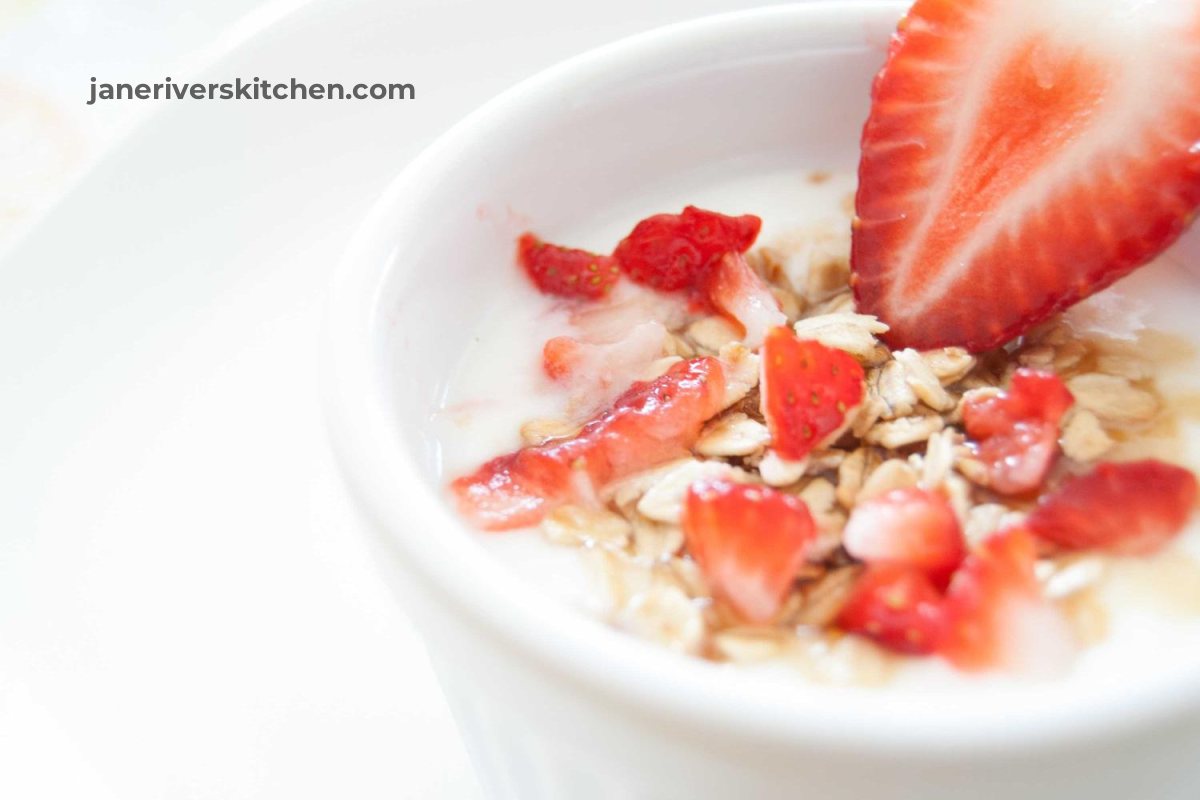
Most angled food shots have a soft, out-of-focus background. Put the watermark there. On a bright, airy background like this one, switch to a dark gray — white would vanish. The guide to watermark colors covers when to switch.
Food photos are the one case where the most protective placement — over the subject — usually costs more than it saves. If you need stronger protection, for example on photos you license to brands, use a separate, more protective version for those previews rather than your blog photos.
Tall Pinterest Images
Many food bloggers make tall images for Pinterest: a collage of two or three shots with the recipe title. These are exactly the images that get saved and re-uploaded most, so they should always carry your address.
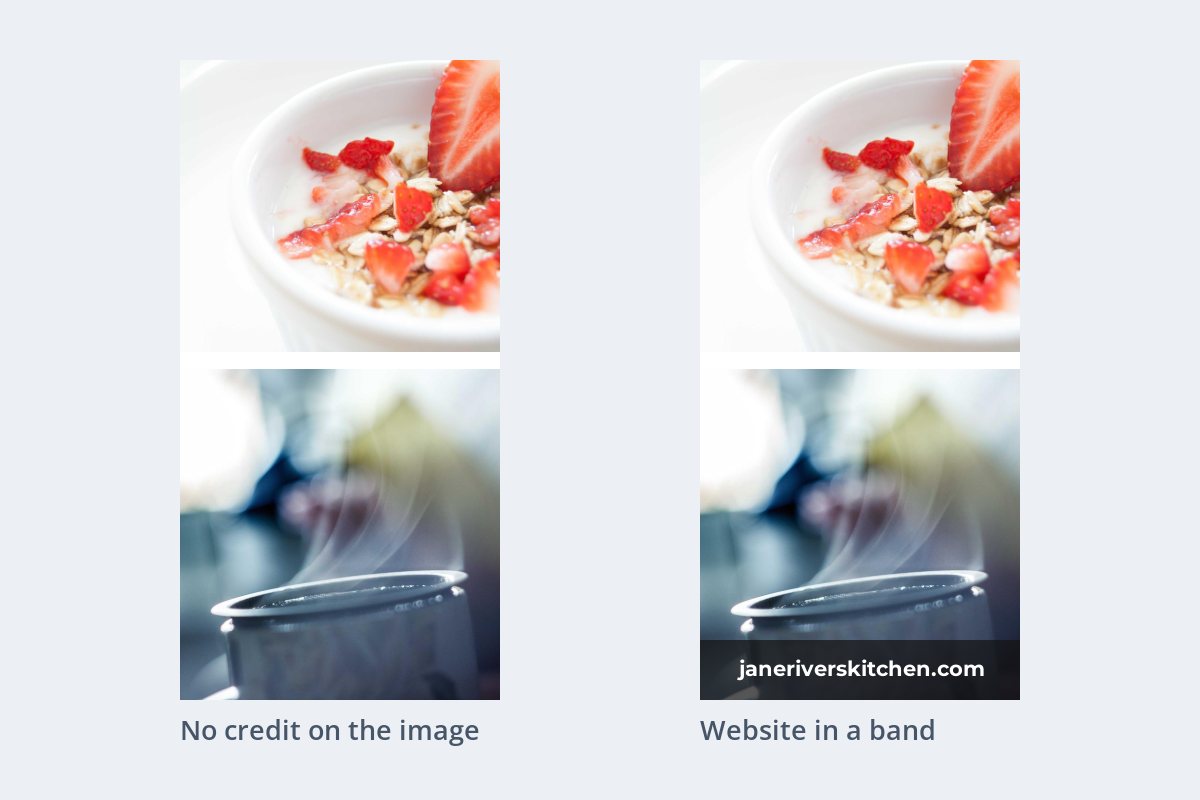
A thin band at the top or bottom of the collage works well here, because the image is already a designed graphic rather than a single photo. For everything else about the platform, see how to watermark photos for Pinterest.
Step-by-Step and Process Photos
A recipe post often has ten or more photos: ingredients, each step, the finished dish. They are easy to overlook, but scraper sites copy the whole post, step photos included. Give every one the same small mark in the same spot.
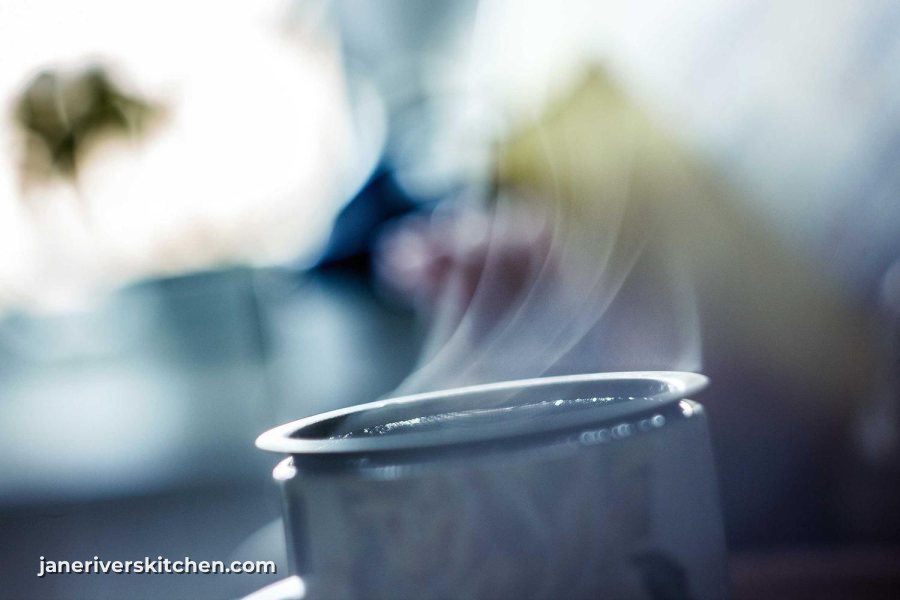

The position and size stay the same; only the color changes where a photo needs it. Readers stop noticing a watermark that is always in the same place, while anyone who copies the post still carries your address with every image.
Keep It Appetizing
- Place the watermark on the surface, background or napkin — never on the food.
- Keep it small: roughly a fifth to a quarter of the image width is plenty for a web address.
- Use a clean, medium-weight font that stays readable when the photo is shrunk.
- Switch between white and dark gray to suit bright and moody shots.
- Use the same size and position on every photo in a post.
- Lay a faint watermark across the dish — it looks like a smudge.
- Use a thin script that disappears on textured tables and linens.
- Put a long line like "Recipe and photo by …" on every image.
- Use a bright brand color that clashes with the food.
- Push the watermark into the very corner, where one crop removes it.
For the reasons behind the font advice, see the best fonts for watermarks.
Where It Goes on Each Kind of Food Shot
| Shot | Where to put it | Color |
|---|---|---|
| Overhead or flat lay | On the surface just below or beside the plate | White on dark surfaces, dark gray on light ones |
| 45° or eye level | In the soft background above or beside the dish | Whichever contrasts with the background |
| Close-up or macro | Along the out-of-focus edge of the frame, a little in from the corner | Usually white with a soft shadow |
| Step-by-step | Same spot and size as the rest of the post | Adjust per photo if needed |
| Pinterest collage | In a thin band at the top or bottom | White on a dark band |
Watermark a Whole Recipe Post in Watermark.ws
-
1
Upload the post’s photos
Add every photo for one recipe — hero shots, step photos and the finished dish.
-
2
Add your web address as a text watermark
Pick a sturdy font, set the size and color, and drag it onto the calm area of the first photo.
-
3
Apply it to every photo
When you change a setting, Watermark.ws asks whether to apply it to just this file or to all files in the batch. Choose all.
-
4
Fix the exceptions
Open any photo where the watermark lands on food and move it, or switch its color on a bright shot.
-
5
Resize for the web and download
Add a Resize step if your originals are larger than your blog needs, then download everything at once.
-
6
Save it as a template
Save the batch as a template so the next recipe gets the same watermark in one click. See how to batch watermark photos.
Sample photos: Café table by Linh Nguyen, Steaming cup by Zugr, Coffee on red by Justin Leibow, Yogurt bowl by Jeffrey Deng, Café interior by Jeff Sheldon on Unsplash.